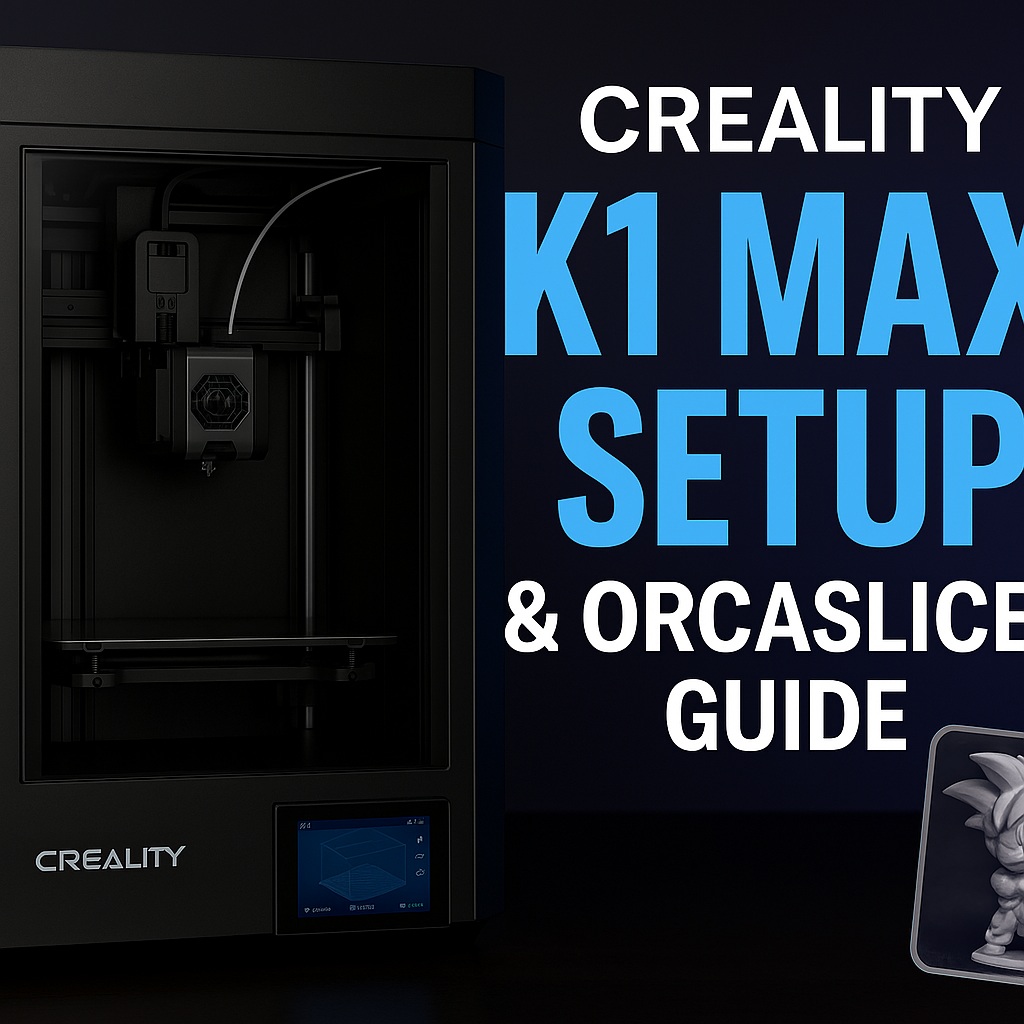
Setting Up the Creality K1 Max with OrcaSlicer
Welcome to another Mylemans Online project! I recently added the Creality K1 Max to my maker toolbox to support my Rackmate T0 homelab project—and I’m loving the results.
📦 Unboxing the Beast
The K1 Max is a solid, pre-assembled CoreXY printer with a massive build volume and lightning-fast speeds. Right out of the box, it felt premium and ready to work.
⚠️ The unboxing footage was shot at night because, yes, the printer arrived at 10 PM, and I just couldn’t wait. I filmed it on my phone, so please excuse the lighting and wobbly shots. But hey, that’s the joy of a new gadget, right?
🔧 First-Time Setup
After unboxing, the K1 Max is almost plug-and-play. Here’s what I had to do:
- Remove all the protective stickers
- Connect the display to the ribbon cable (this took some effort one-handed while filming 😅)
- Remove three shipping screws under the print bed
Once powered on, the printer guides you through:
- Language selection
- WiFi connection
- Auto-calibration sequence
It also comes with a spool of white filament, which I used for testing.
I ordered some black filament for the actual rackmounts—should arrive soon!
🛠️ Installing OrcaSlicer
To slice my prints, I’m using OrcaSlicer, a free and powerful slicer favored by the 3D printing community.
Step-by-step:
- Download and run the installer from the official OrcaSlicer website. It’s a quick and easy setup.
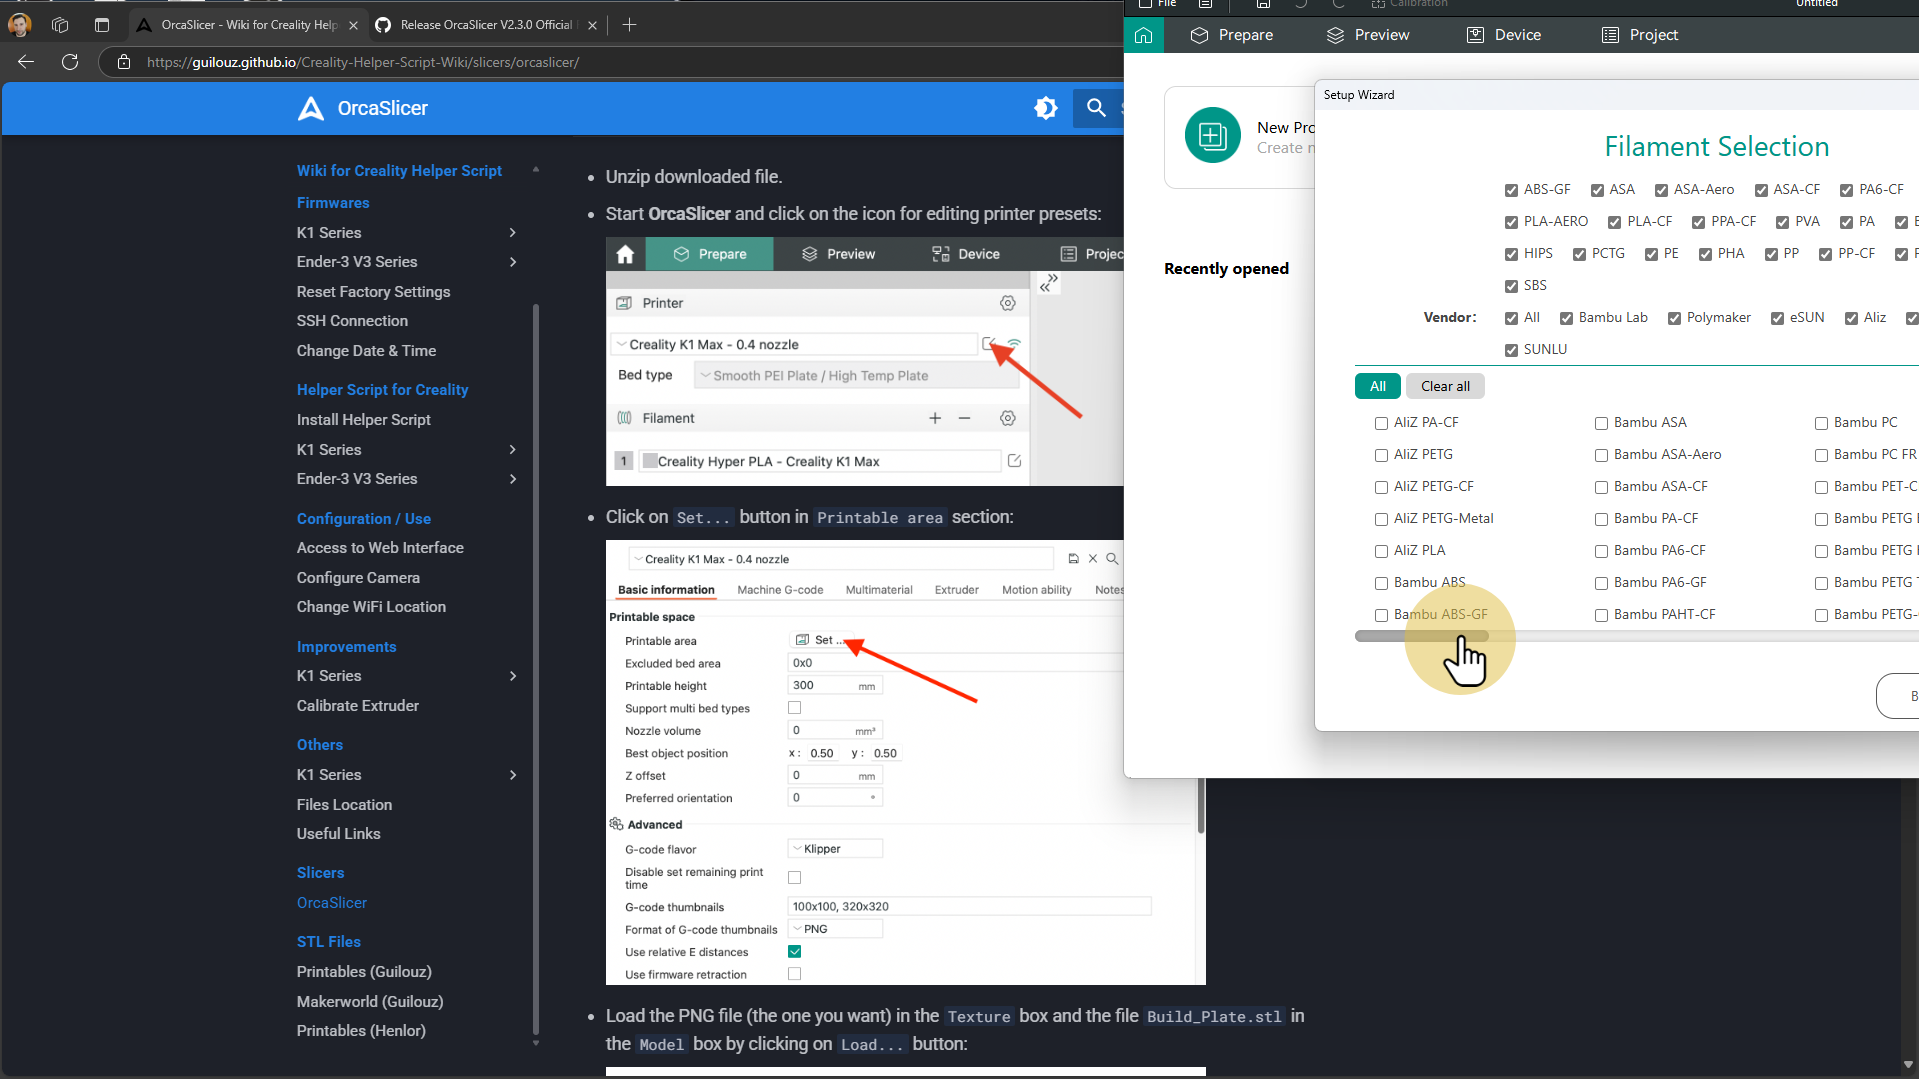
- Upon first launch, a setup wizard appears to guide you through the basics.
- Search and select “K1 Max” from the printer list.
- OrcaSlicer will automatically preload Creality filament profiles, so common materials like PLA, PETG, and ABS are ready to go.
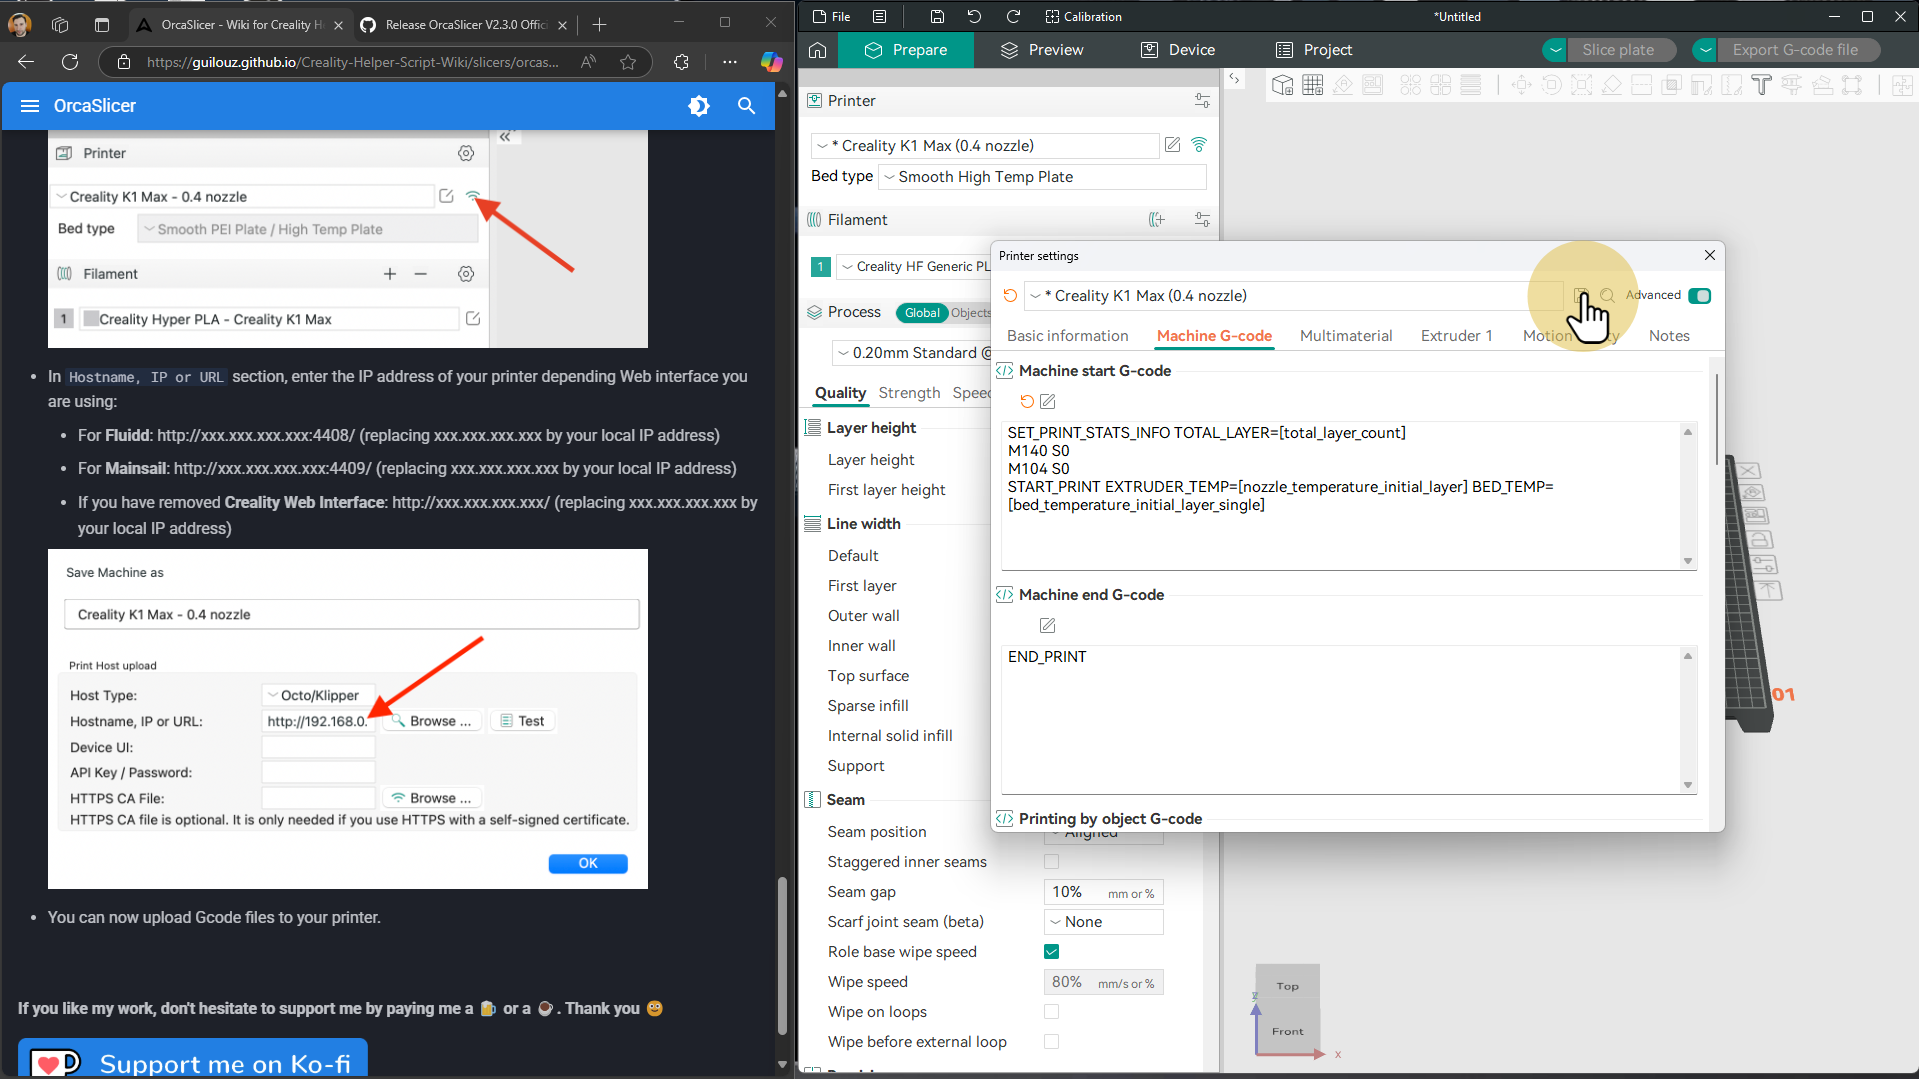
- Follow this excellent guide to:
- Import the custom K1 Max build plate
- Load optimized printer and filament config files
- Copy/paste custom start and end G-code for best printing results
It’s a clean, fast setup that gets you printing with confidence.
🖼️ OrcaSlicer Setup – Step-by-Step Screenshots
To make things easier, I’ve documented every step of my OrcaSlicer setup with screenshots.
These visual guides are especially helpful if you’re just starting out.
You can follow along right here:
ORCA Slicer - Setup Screens (Captured on 05-04-2025)
🔍 Finding 3D Models
You can find STL files on platforms like:
For this video, I demo a Goku figurine and previewed a rackmount print for an HP ProDesk 600 G4 Mini.
🖨️ Demo Print
As a warm-up, I printed a small Goku figure in about 30 minutes. The print quality was excellent, with smooth lines and great detail for such a fast job.
📌 What’s Next?
I’ll be printing more rack-mount accessories, tools, and enclosures to level up the homelab. If you’re into 3D printing and IT tinkering, make sure to follow along!
Stay tuned,
Marc — Mylemans Online


