50TB NAS Build with Jonsbo N2 and HexOS
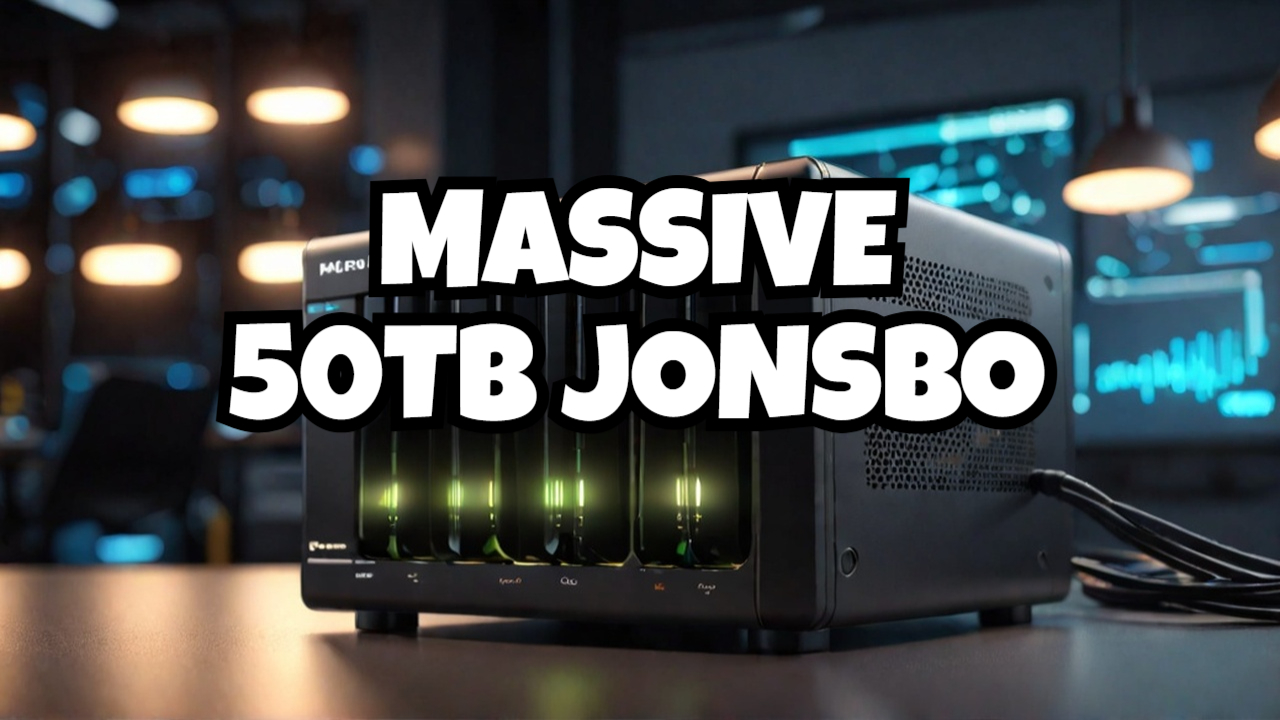
In this post, I’ll guide you through the highlights of my new NAS build in the Jonsbo N2 case, armed with 5×10TB HDDs (giving 50TB raw capacity), two 2TB NVMe drives, and a 250GB SSD for the operating system. I’m using HexOS, a simplified TrueNAS-based platform that streamlines storage management and app installation.
Case Highlights
- Magnetic Front Cover: Hides the five-bay hot-swap cage for 3.5-inch HDDs. There’s also an Allen key stored behind the cover to open the top panel.
- Hot-Swap Bays: Easily slide in and out 3.5-inch drives. I installed five 10TB disks for a massive capacity.
- Rear Fan & Backplane: Remove four thumbscrews to access the fan and the backplane, which has 5 SATA data ports and 2 Molex power connectors.
- Anti-Slip Rubber Mat: Positioned under the chassis to help reduce movement on smooth surfaces.
Power Supply (SFX)
- Use an SFX PSU rated at least 300W.
- Ensure 2×Molex connectors for the backplane and additional SATA power for the OS SSD.
Motherboard & Storage Layout
- Industrial Mini-ITX Board with an Intel N100 CPU and 32GB DDR5 RAM.
- SATA: 6 onboard ports (5 used for HDDs, 1 for the OS SSD).
- NVMe SSDs: Two 2TB drives, offering 4TB of fast storage.
- Rear I/O: Dual 2.5GbE ports and one 10GbE port for speedy network access.
- Braided Slim SATA Cable: A single bundle with numbered cables for neater routing.
- Rubber Straps: Screw onto each drive and help pull them out of the hot-swap cage.
Installing HexOS
- Download & Flash: Grab the HexOS ISO and use a tool like Balena Etcher to flash it to a USB drive.
- Boot & Install:
- Enter the system’s BIOS/UEFI, select the USB as your boot device.
- From the HexOS Console Setup, choose Option 1 (“Install HexOS”).
- Select the 250GB SSD (or any dedicated small SSD) as your OS drive.
- Set a password for the default
truenas_adminuser. - After installation, reboot into HexOS.
- Claiming the NAS:
- On a separate computer, navigate to deck.hexos.com and log in with the credentials you created.
- You’ll see a prompt to “claim” your new NAS. After claiming, HexOS auto-detects your hardware.
- Confirm your 5×10TB HDDs as “slow storage” and 2×2TB NVMe drives as “fast storage.”
- Let HexOS create a RAID-like pool (e.g., single parity with ~40TB usable) and a mirrored SSD pool.
- Name the server and acknowledge all data on those drives will be wiped.
Storage & Apps Overview
- Dashboard: Shows system health (CPU, memory, etc.) and overall storage stats.
- Storage Tab: Detailed view of each HDD/SSD.
- Folders Tab: Create shares, users, and manage permissions.
Plex
- Go to Apps → Plex, then follow the guided install.
- Launch Plex; you’ll find your media folders automatically created if you choose that option.
- Configure libraries for Movies, TV Shows, etc.
GPU Passthrough for Plex
- If you have a Plex Pass, enable hardware transcoding by selecting “Passthrough available GPU” in the Plex container settings (through the TrueNAS interface).
- Retrieve your claim token from plex.tv/claim and apply it in the Plex settings.
Immich
- Also found under Apps, Immich is a self-hosted photo backup alternative.
- Launch after install, set an admin email/password, and begin uploading or sharing photos.
Installing Other Apps
- While HexOS is in beta, only Plex and Immich are officially supported in its GUI.
- Access the underlying TrueNAS “Discover Apps” catalog if you want to install additional containers or plugins.
One-Week Update: Handling SATA/NCQ Errors
After a week of use, some users may encounter intermittent SATA errors related to NCQ (Native Command Queuing). If you notice these, a temporary workaround in HexOS is to disable NCQ by passing an extra kernel option like libata.force=noncq. I SSH’d into my nas and run the following command as root.
If you don’t have a root user first become root:
1
sudo su
Then run the following command to disable NCQ:
1
midclt call system.advanced.update '{ "kernel_extra_options": "libata.force=noncq" }'
What Does libata.force=noncq Do?
- Disables NCQ: Native Command Queuing allows drives to handle multiple read/write requests more efficiently.
- Possible Stability Improvement: If your drives or controller exhibit NCQ-related errors (timeouts, dropped connections, etc.), forcing NCQ off can help.
- Potential Performance Impact: Disabling NCQ might reduce performance on some workloads. However, if stability is your main goal, this workaround can be beneficial.
Consider this a troubleshooting measure. If disabling NCQ resolves the errors, you may want to check for firmware updates on your drives or any known compatibility issues that could allow you to safely re-enable NCQ later.
Conclusion
With the Jonsbo N2 chassis, five 10TB drives, two 2TB NVMe SSDs, and HexOS, you can build a powerful yet user-friendly NAS. From the hot-swap design and ample network connectivity to the straightforward app installation, this setup makes managing large-scale storage and media streaming a breeze. Thanks for reading, and enjoy your new HexOS-powered NAS!