Take Control of Your Homelab: PrivateGlue UI Walkthrough & Demo

Welcome to the PrivateGlue UI Walkthrough!
This guide offers a concise overview of the PrivateGlue web interface, showcasing key workflows and steps to get started.
What is PrivateGlue?
PrivateGlue is a simple, self-hosted web app for linking devices, notes, and credentials — helping IT professionals and homelabbers stay organized and secure.
Ideal for:
- Freelancers and consultants juggling multiple client systems
- Home lab enthusiasts documenting hardware and setups
- Small businesses needing internal IT asset tracking
- Anyone looking for a secure, encrypted credential store
Key Features
- Markdown Notes linked to devices
- Secure Password Manager with encryption
- Device Inventory management with tagging
- Dark Mode Support for a sleek UI
- Flask, SQLite, and Bootstrap 5 based, making it lightweight and easy to deploy
1. First-Run Wizard
On first launch (when no users exist), you can restore a backup or skip straight to creating your first admin account.
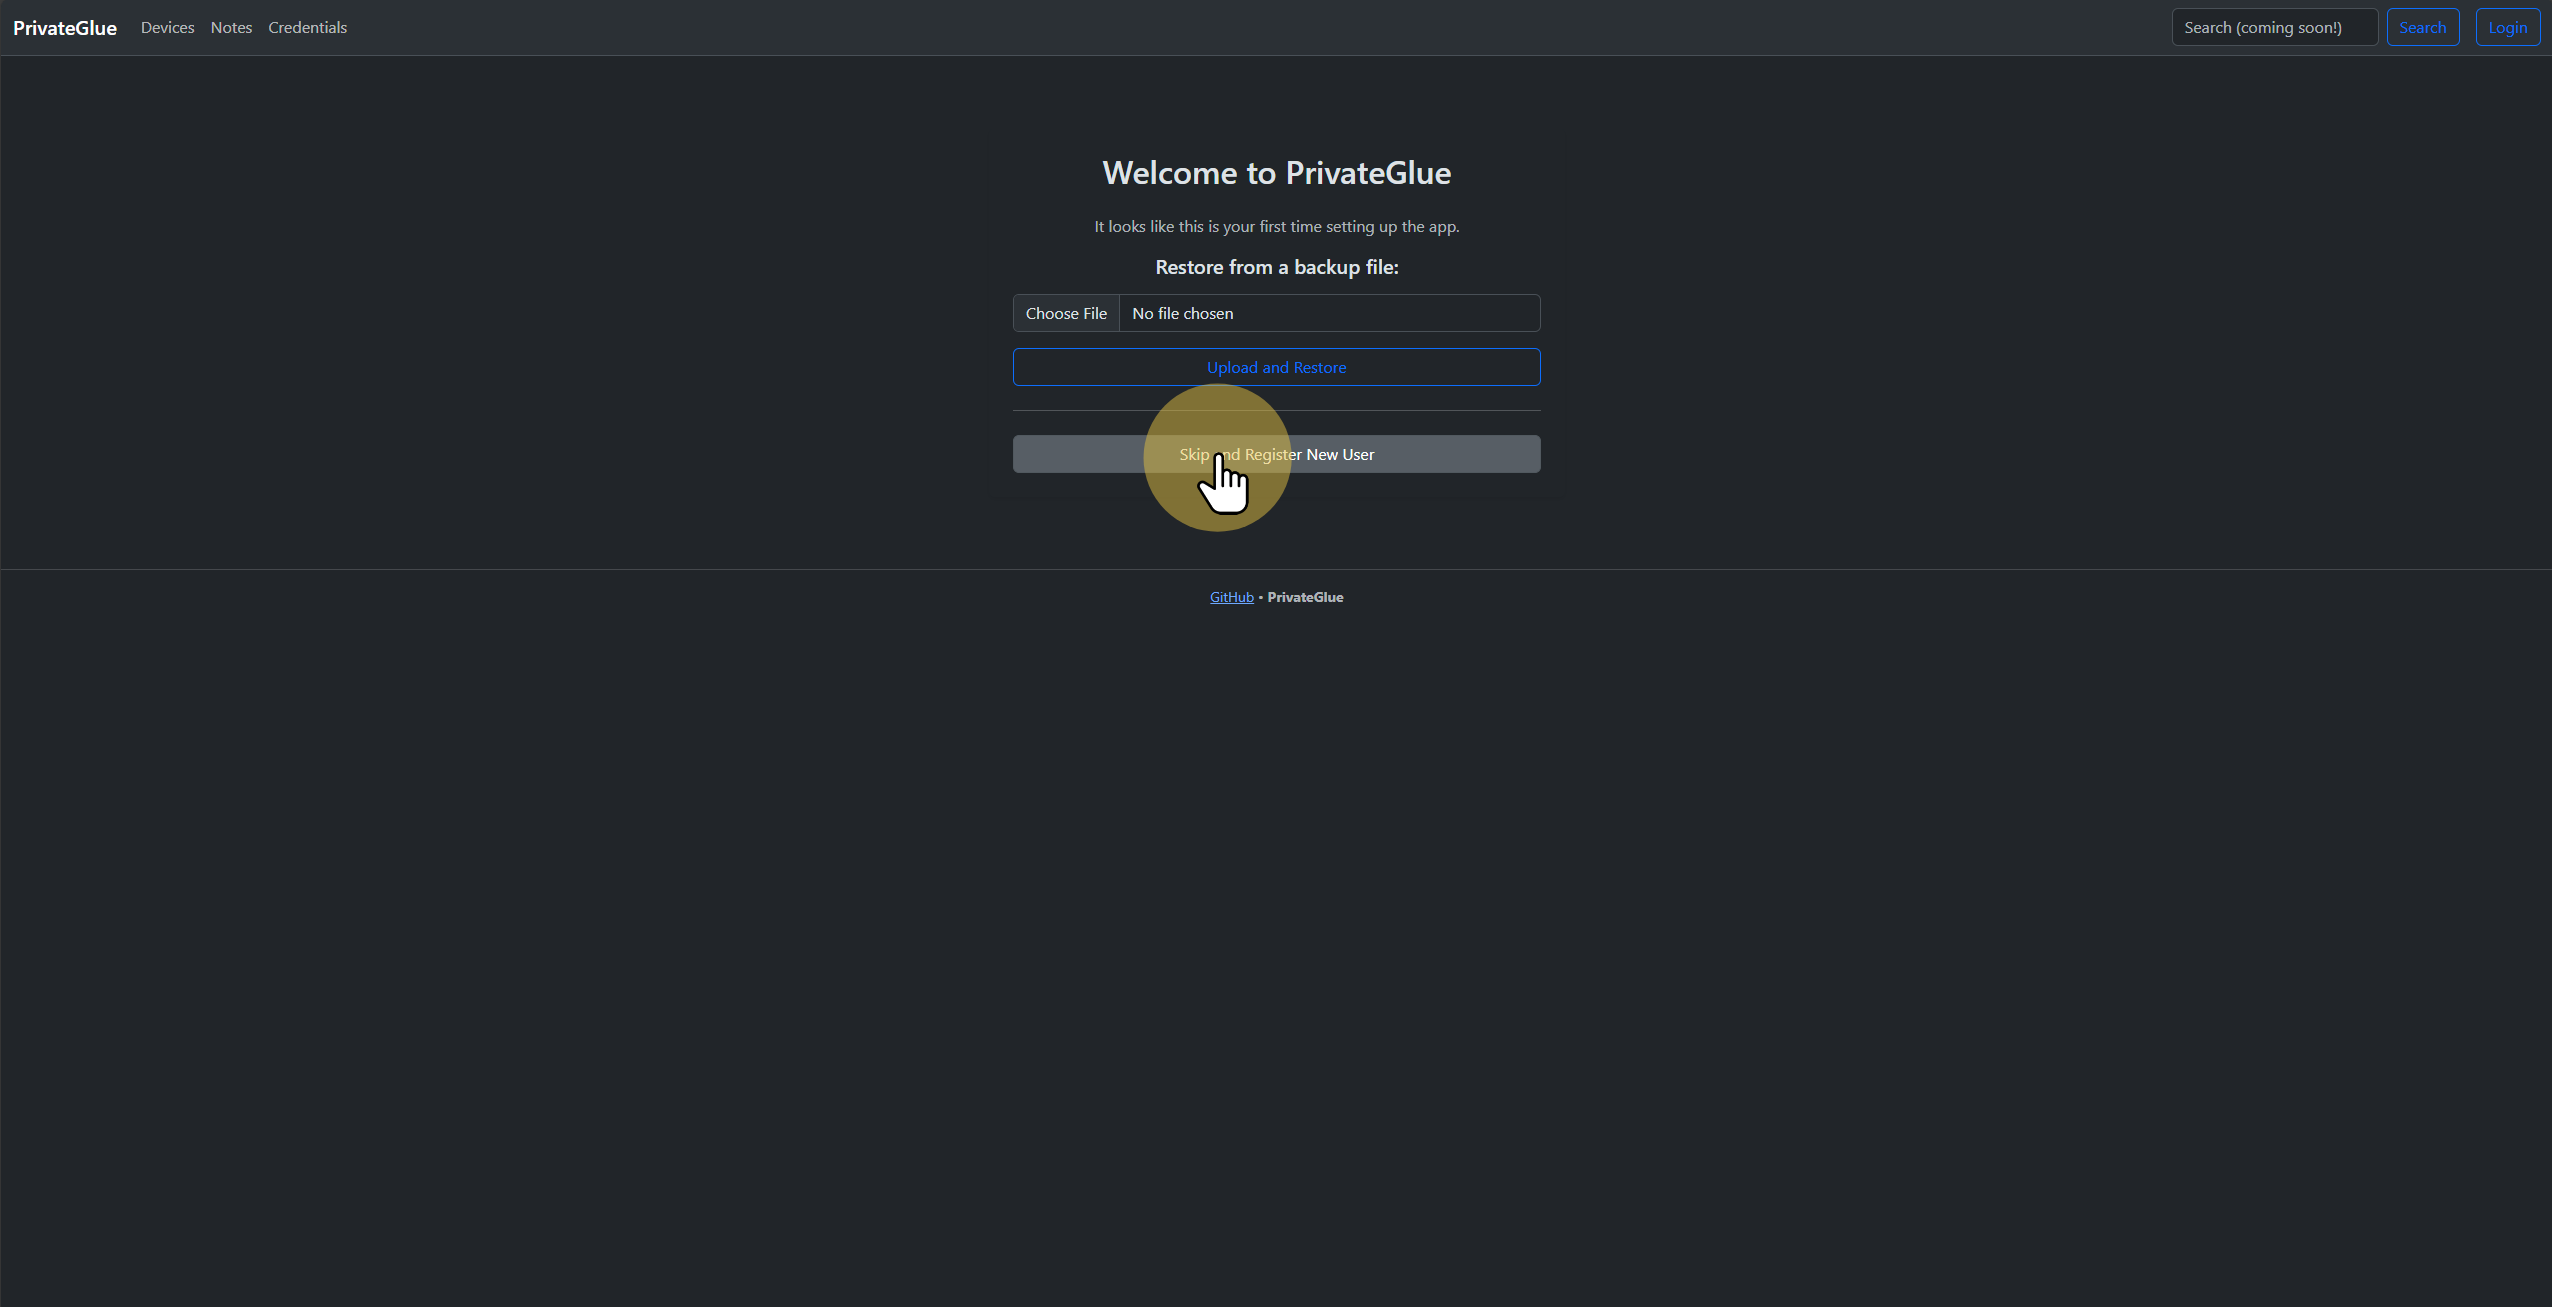
Step 1: Skip restore to register a new user.
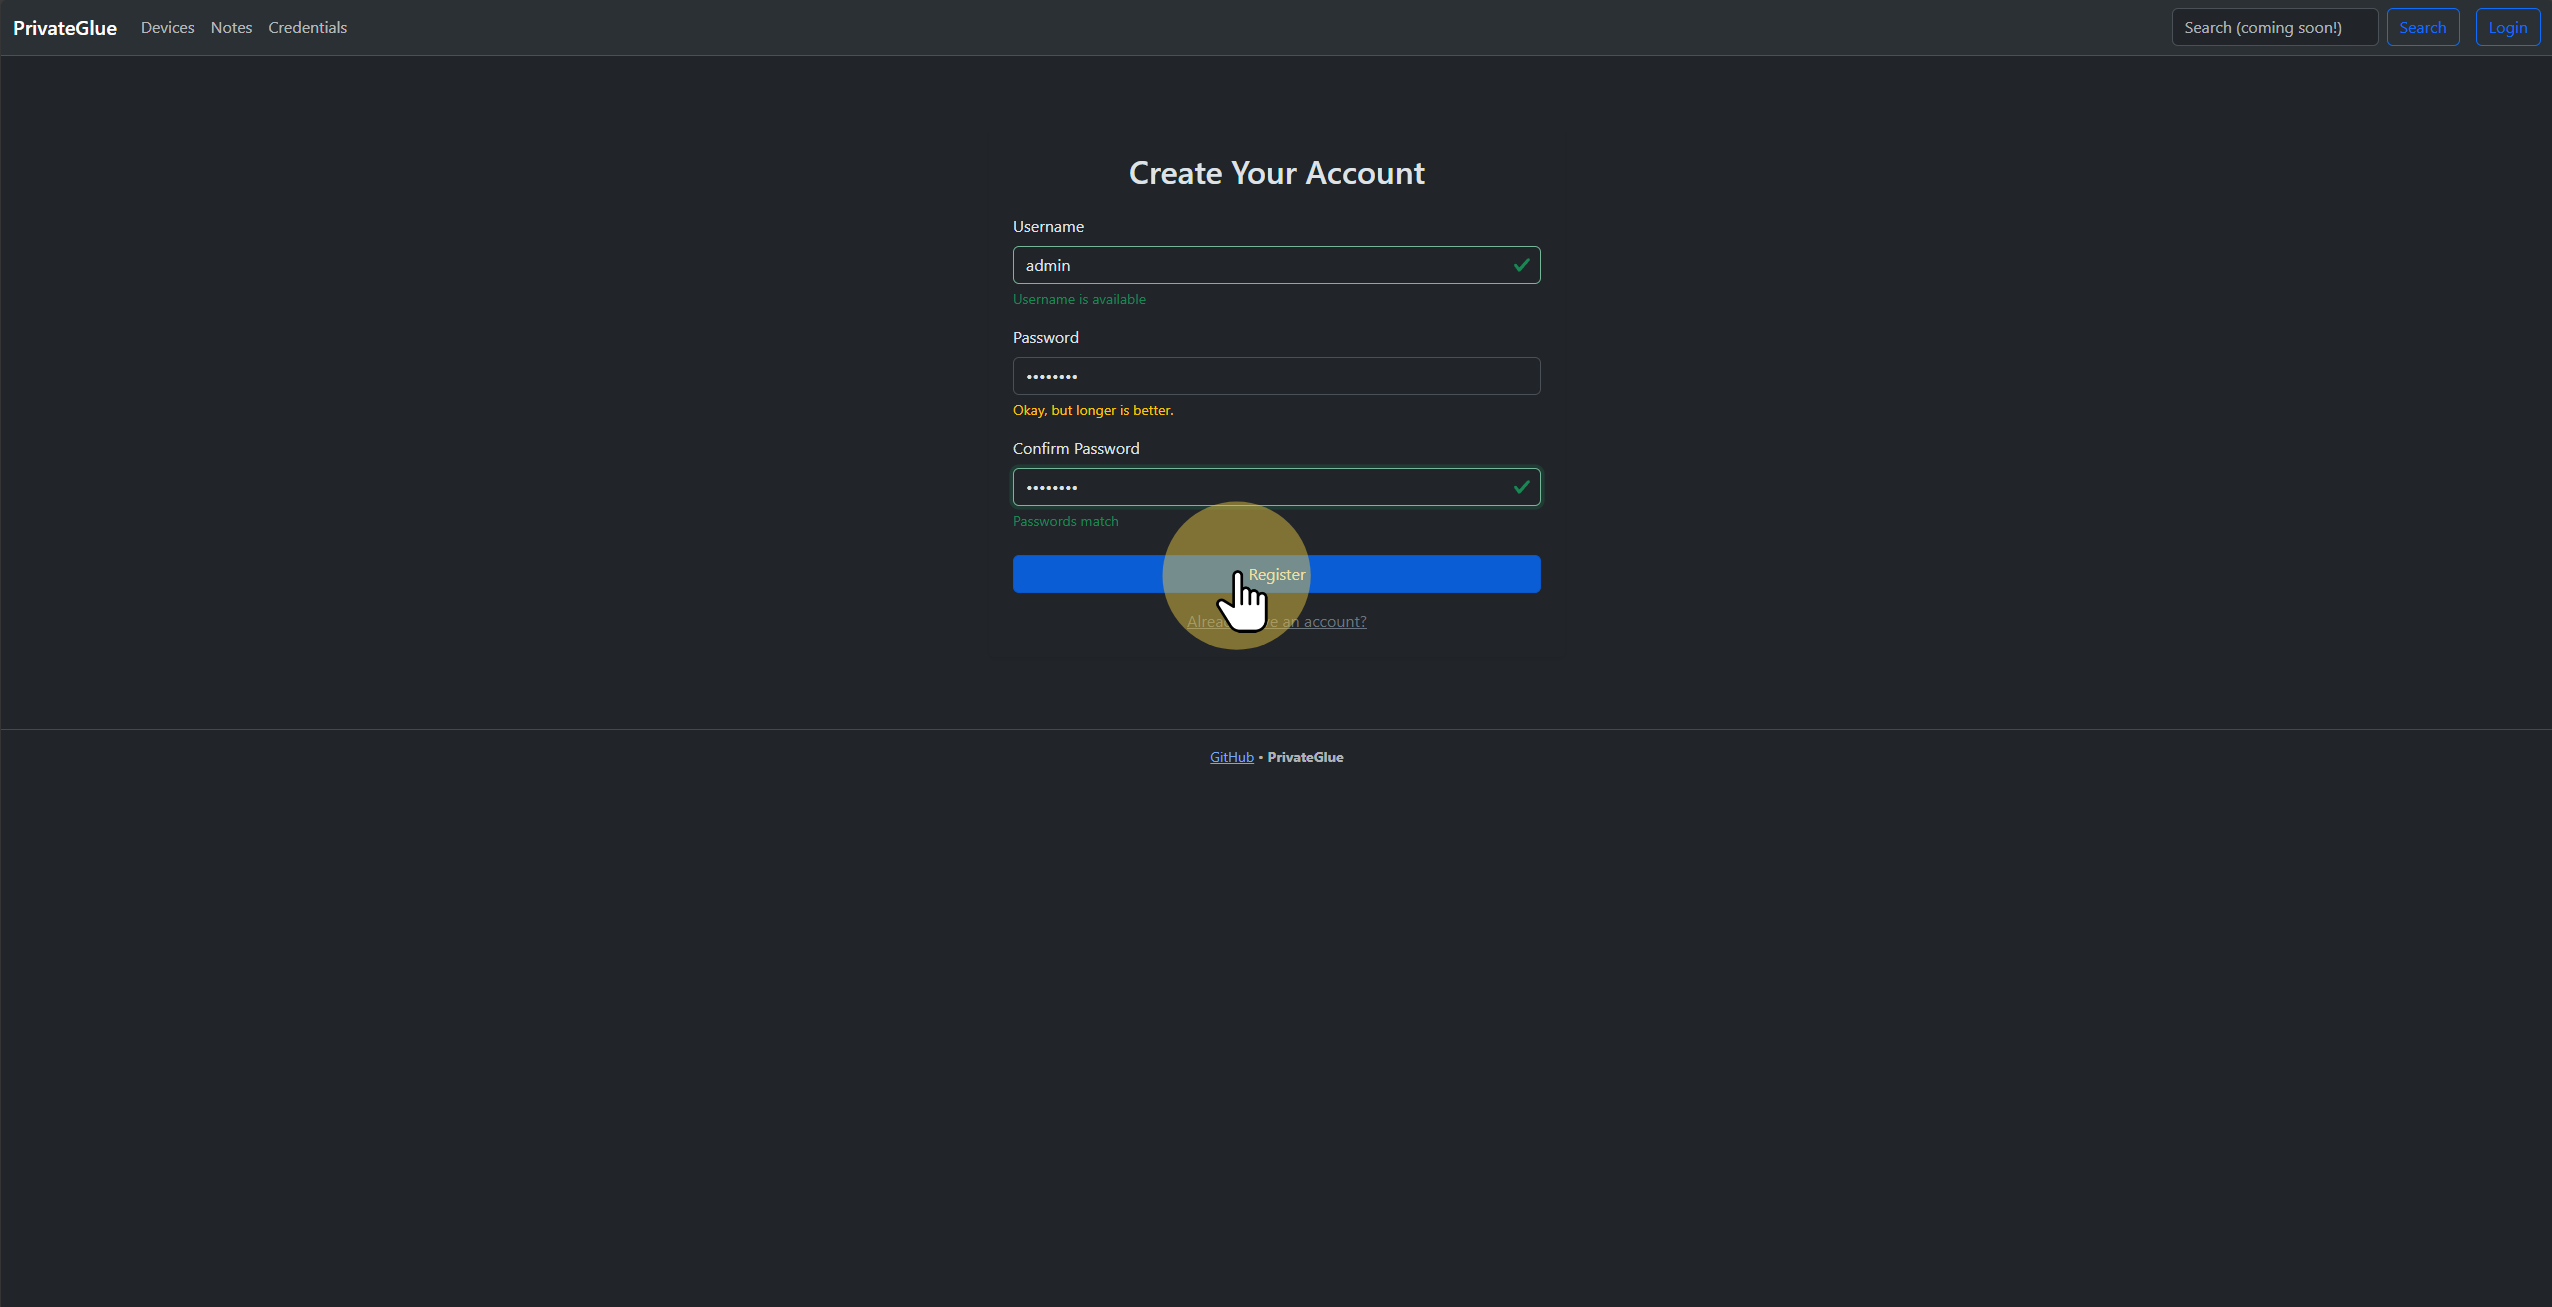
Step 2: Enter username and password for the initial admin account.
2. Dashboard Overview
The Dashboard provides an at-a-glance view of your registered devices, recent activity, and quick-action links.
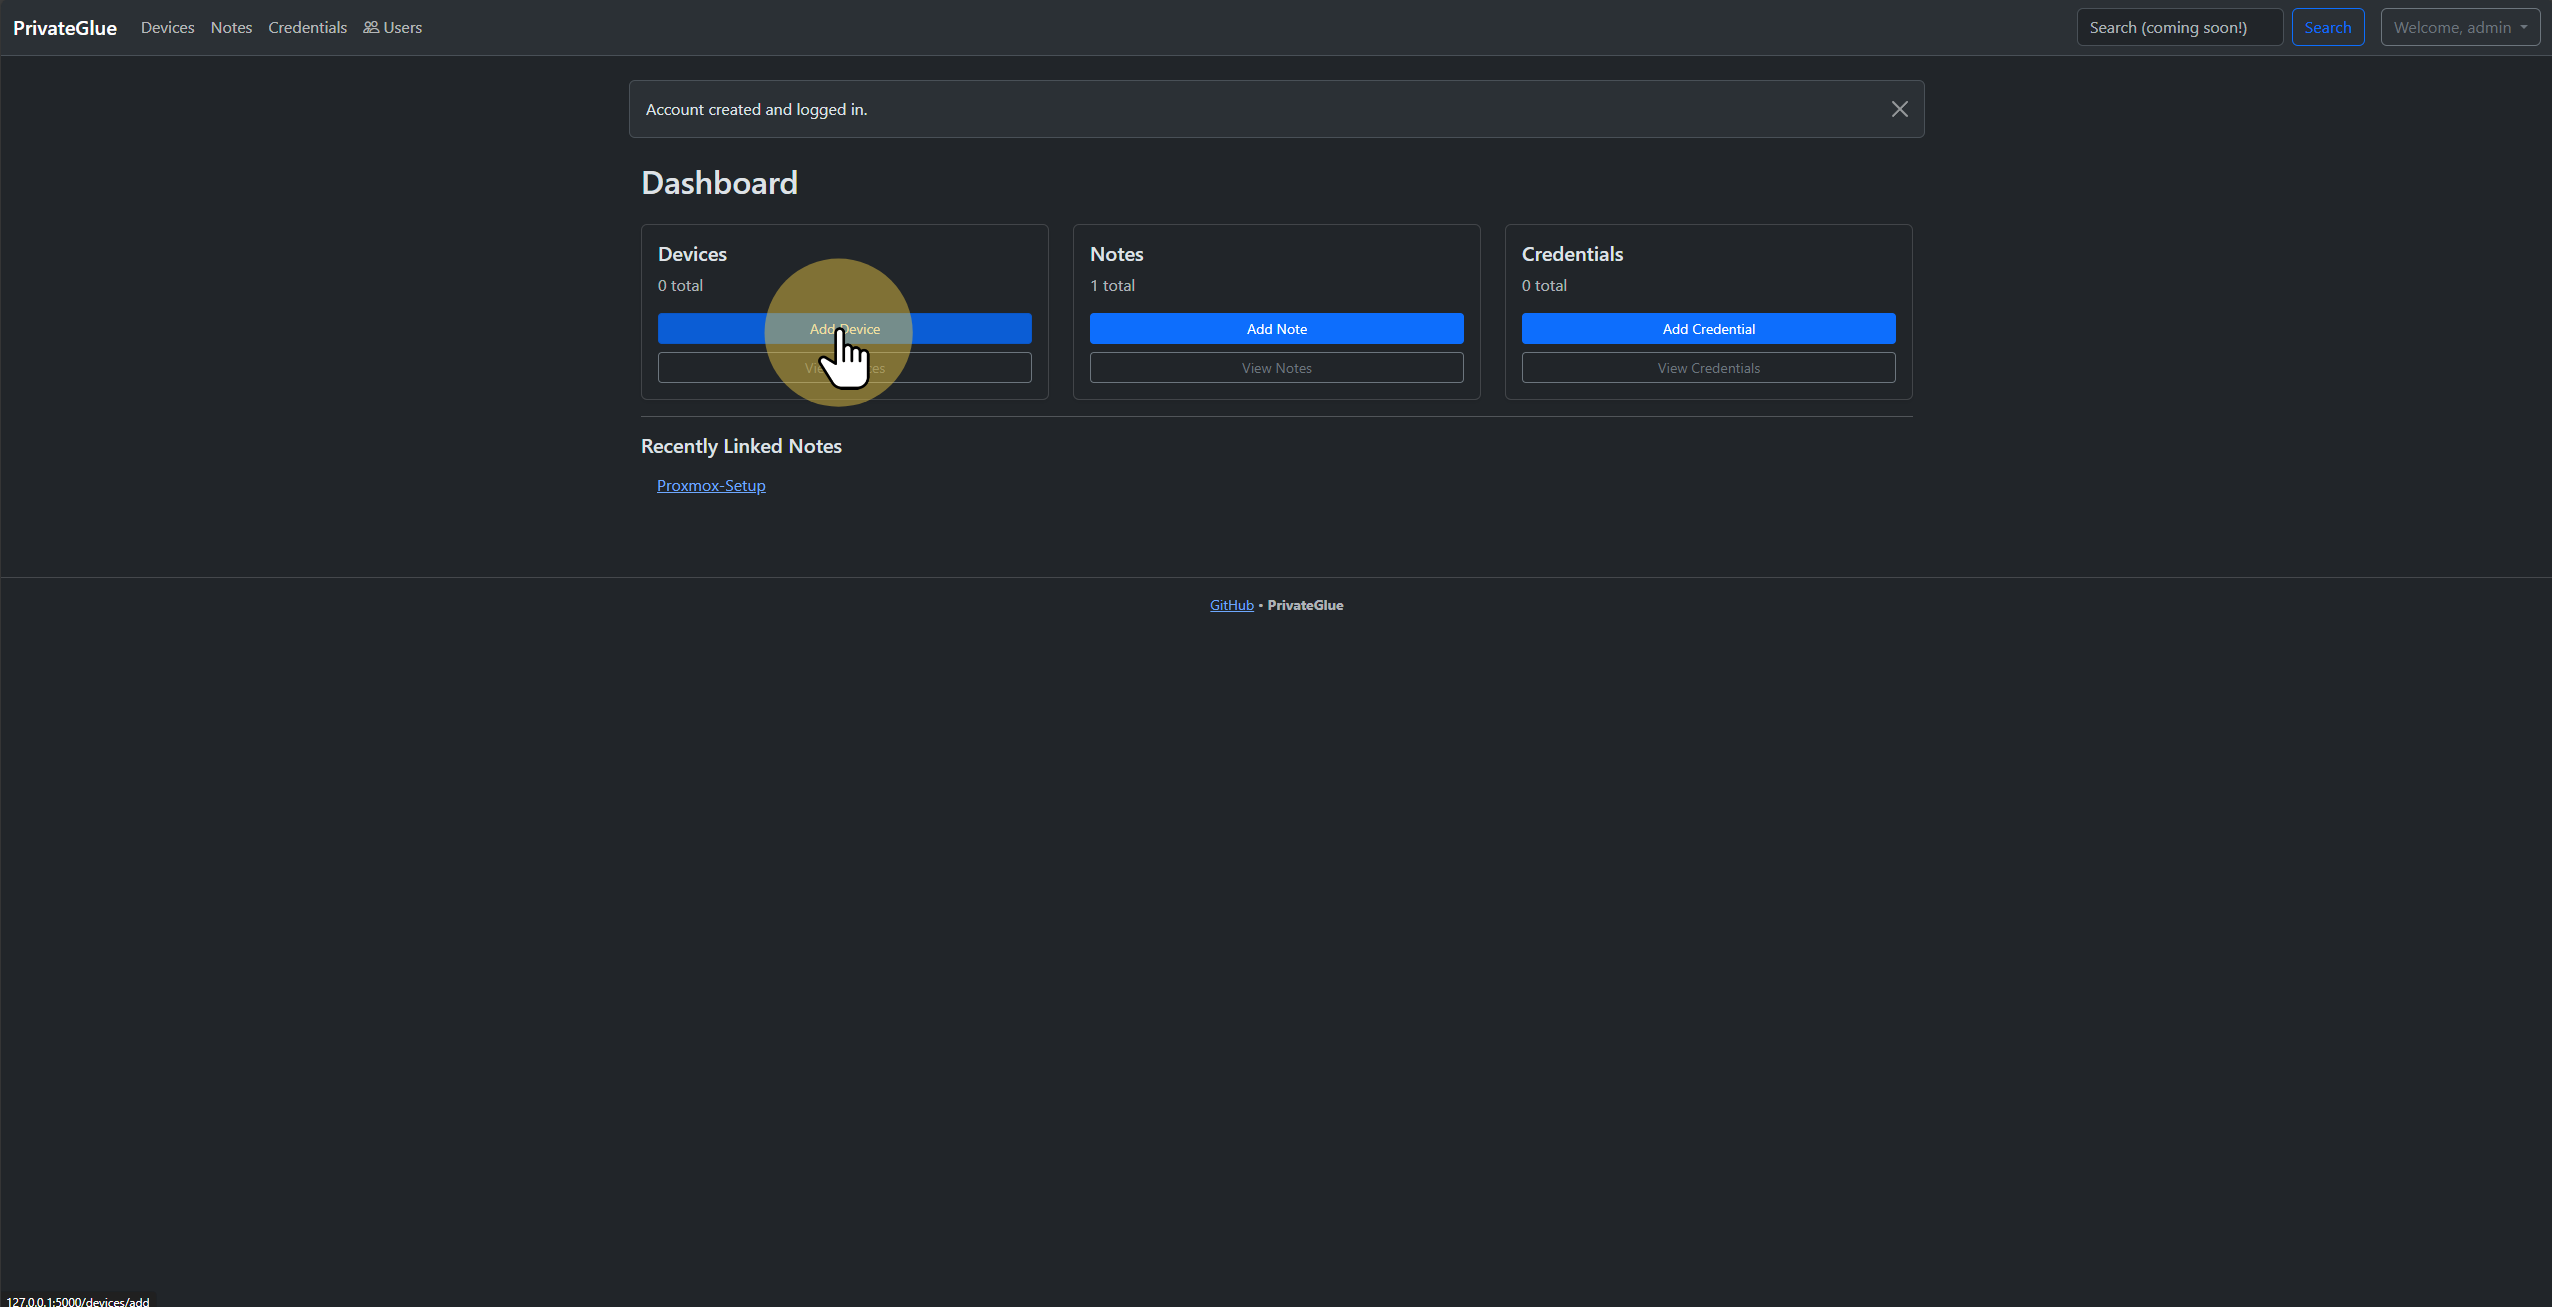
Device inventory, status updates, and shortcuts.
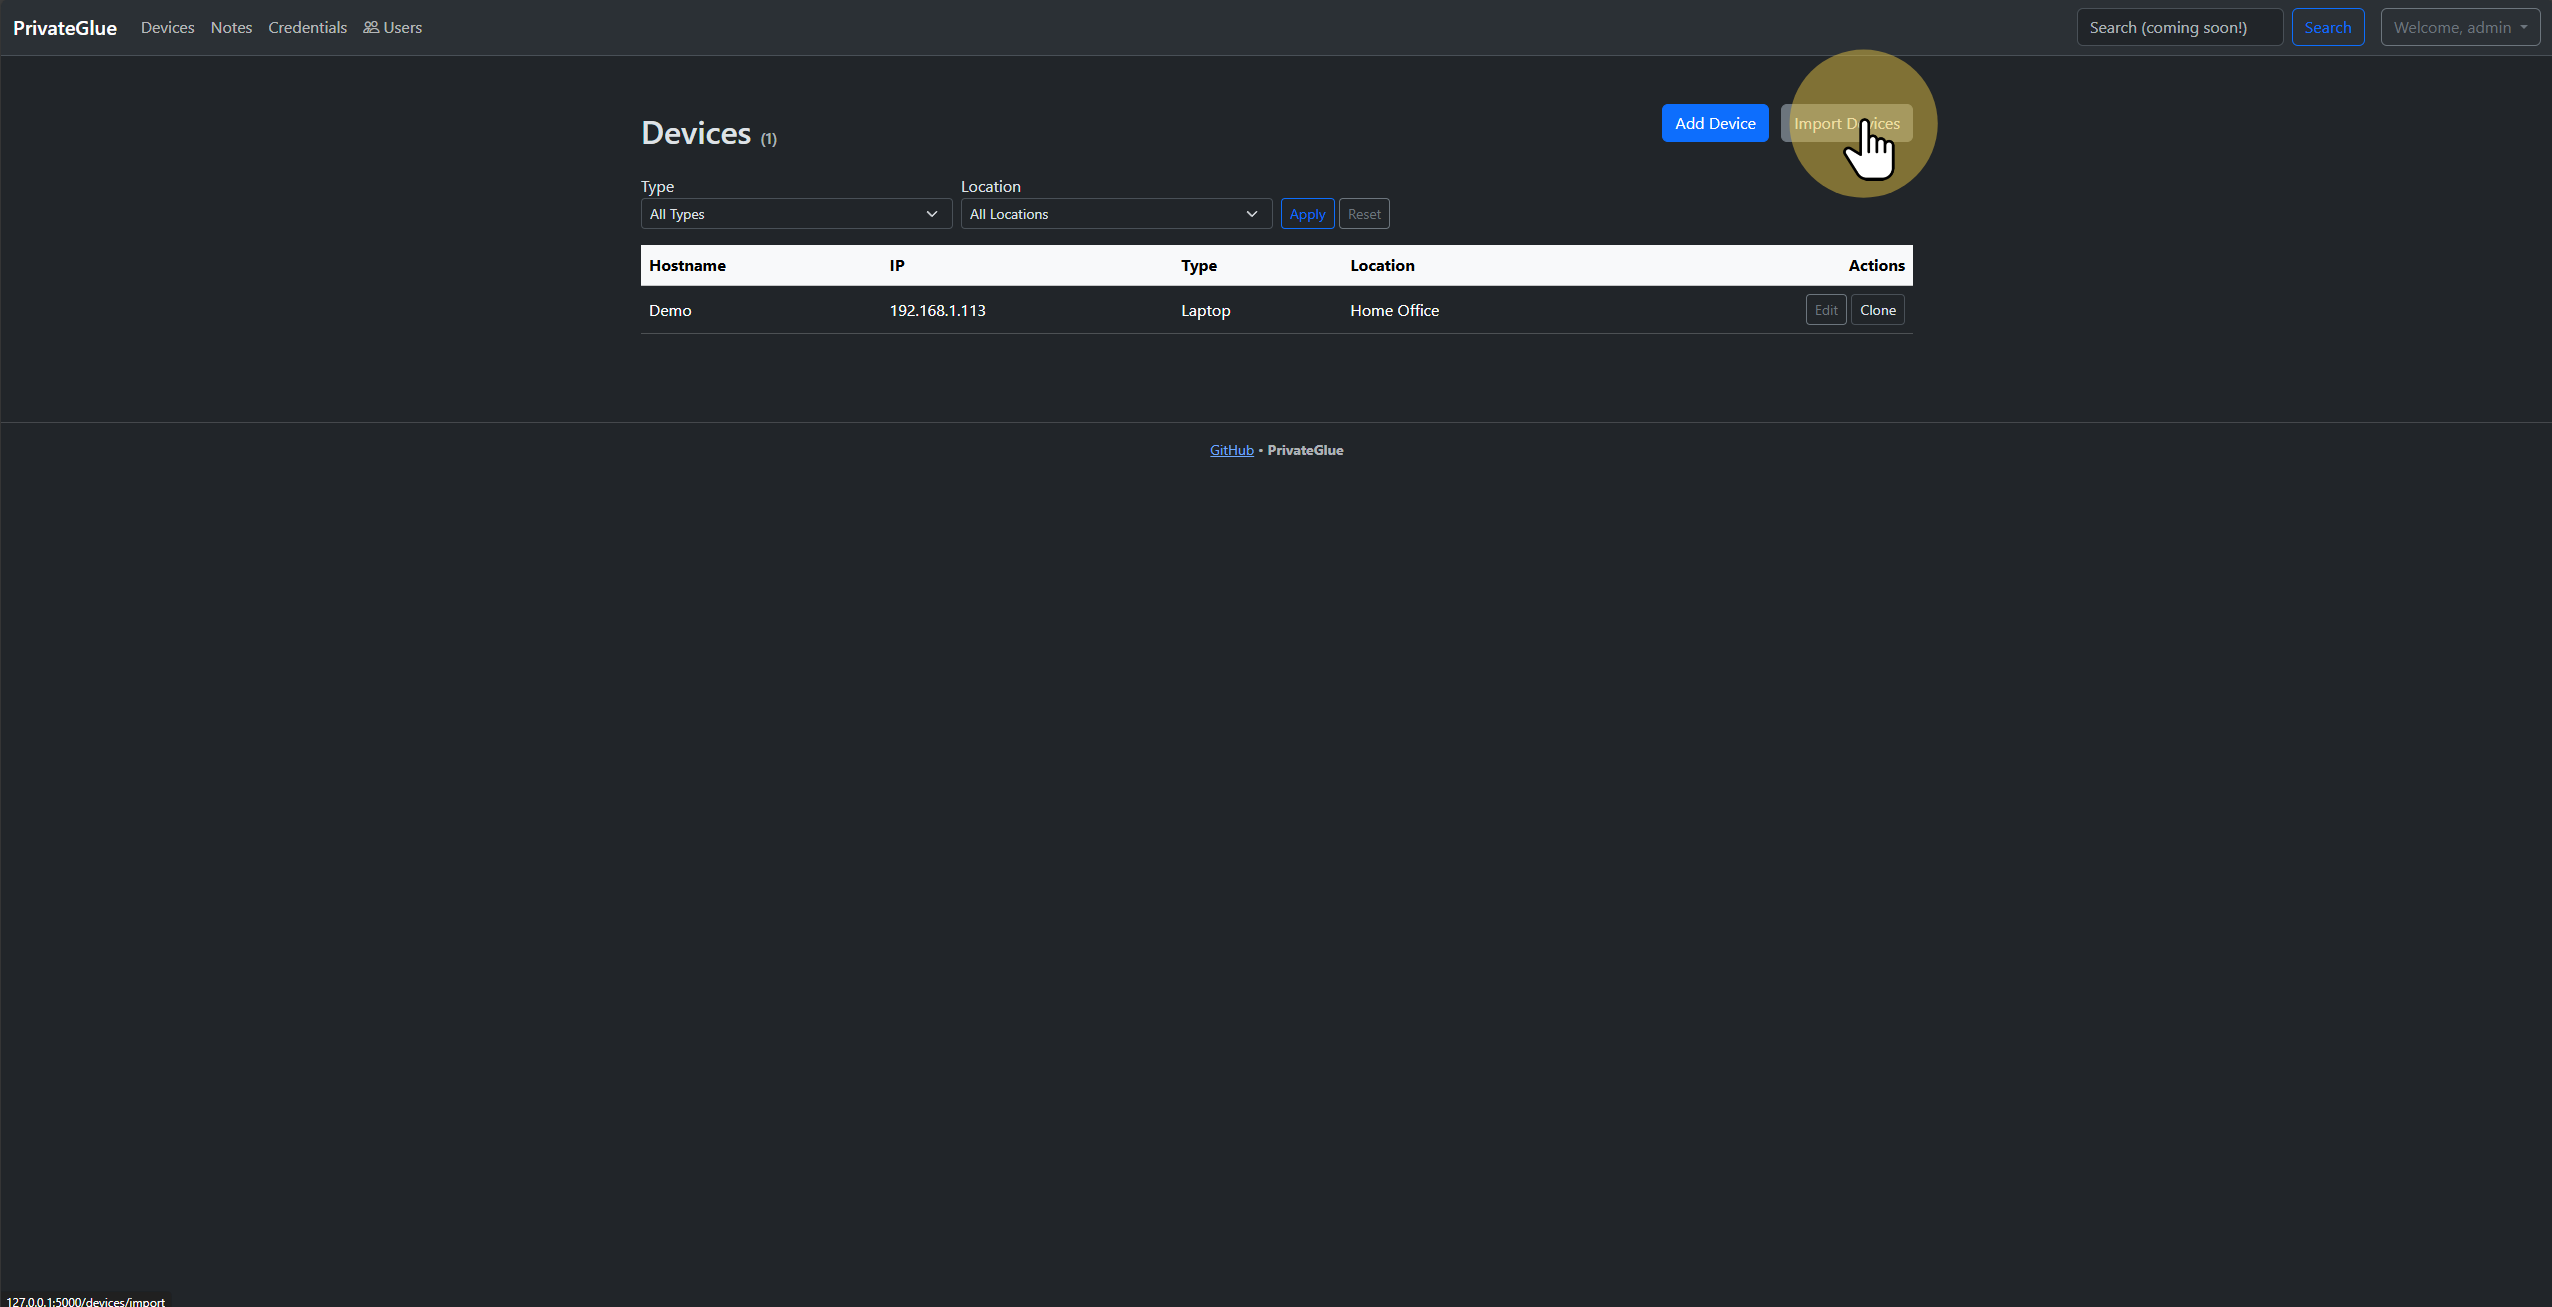
3. Managing Devices
Navigate to Devices in the sidebar to add, edit, or bulk-import your hosts.
3.1 Add a Device
Click Add Device, then fill in the form with your host’s details.
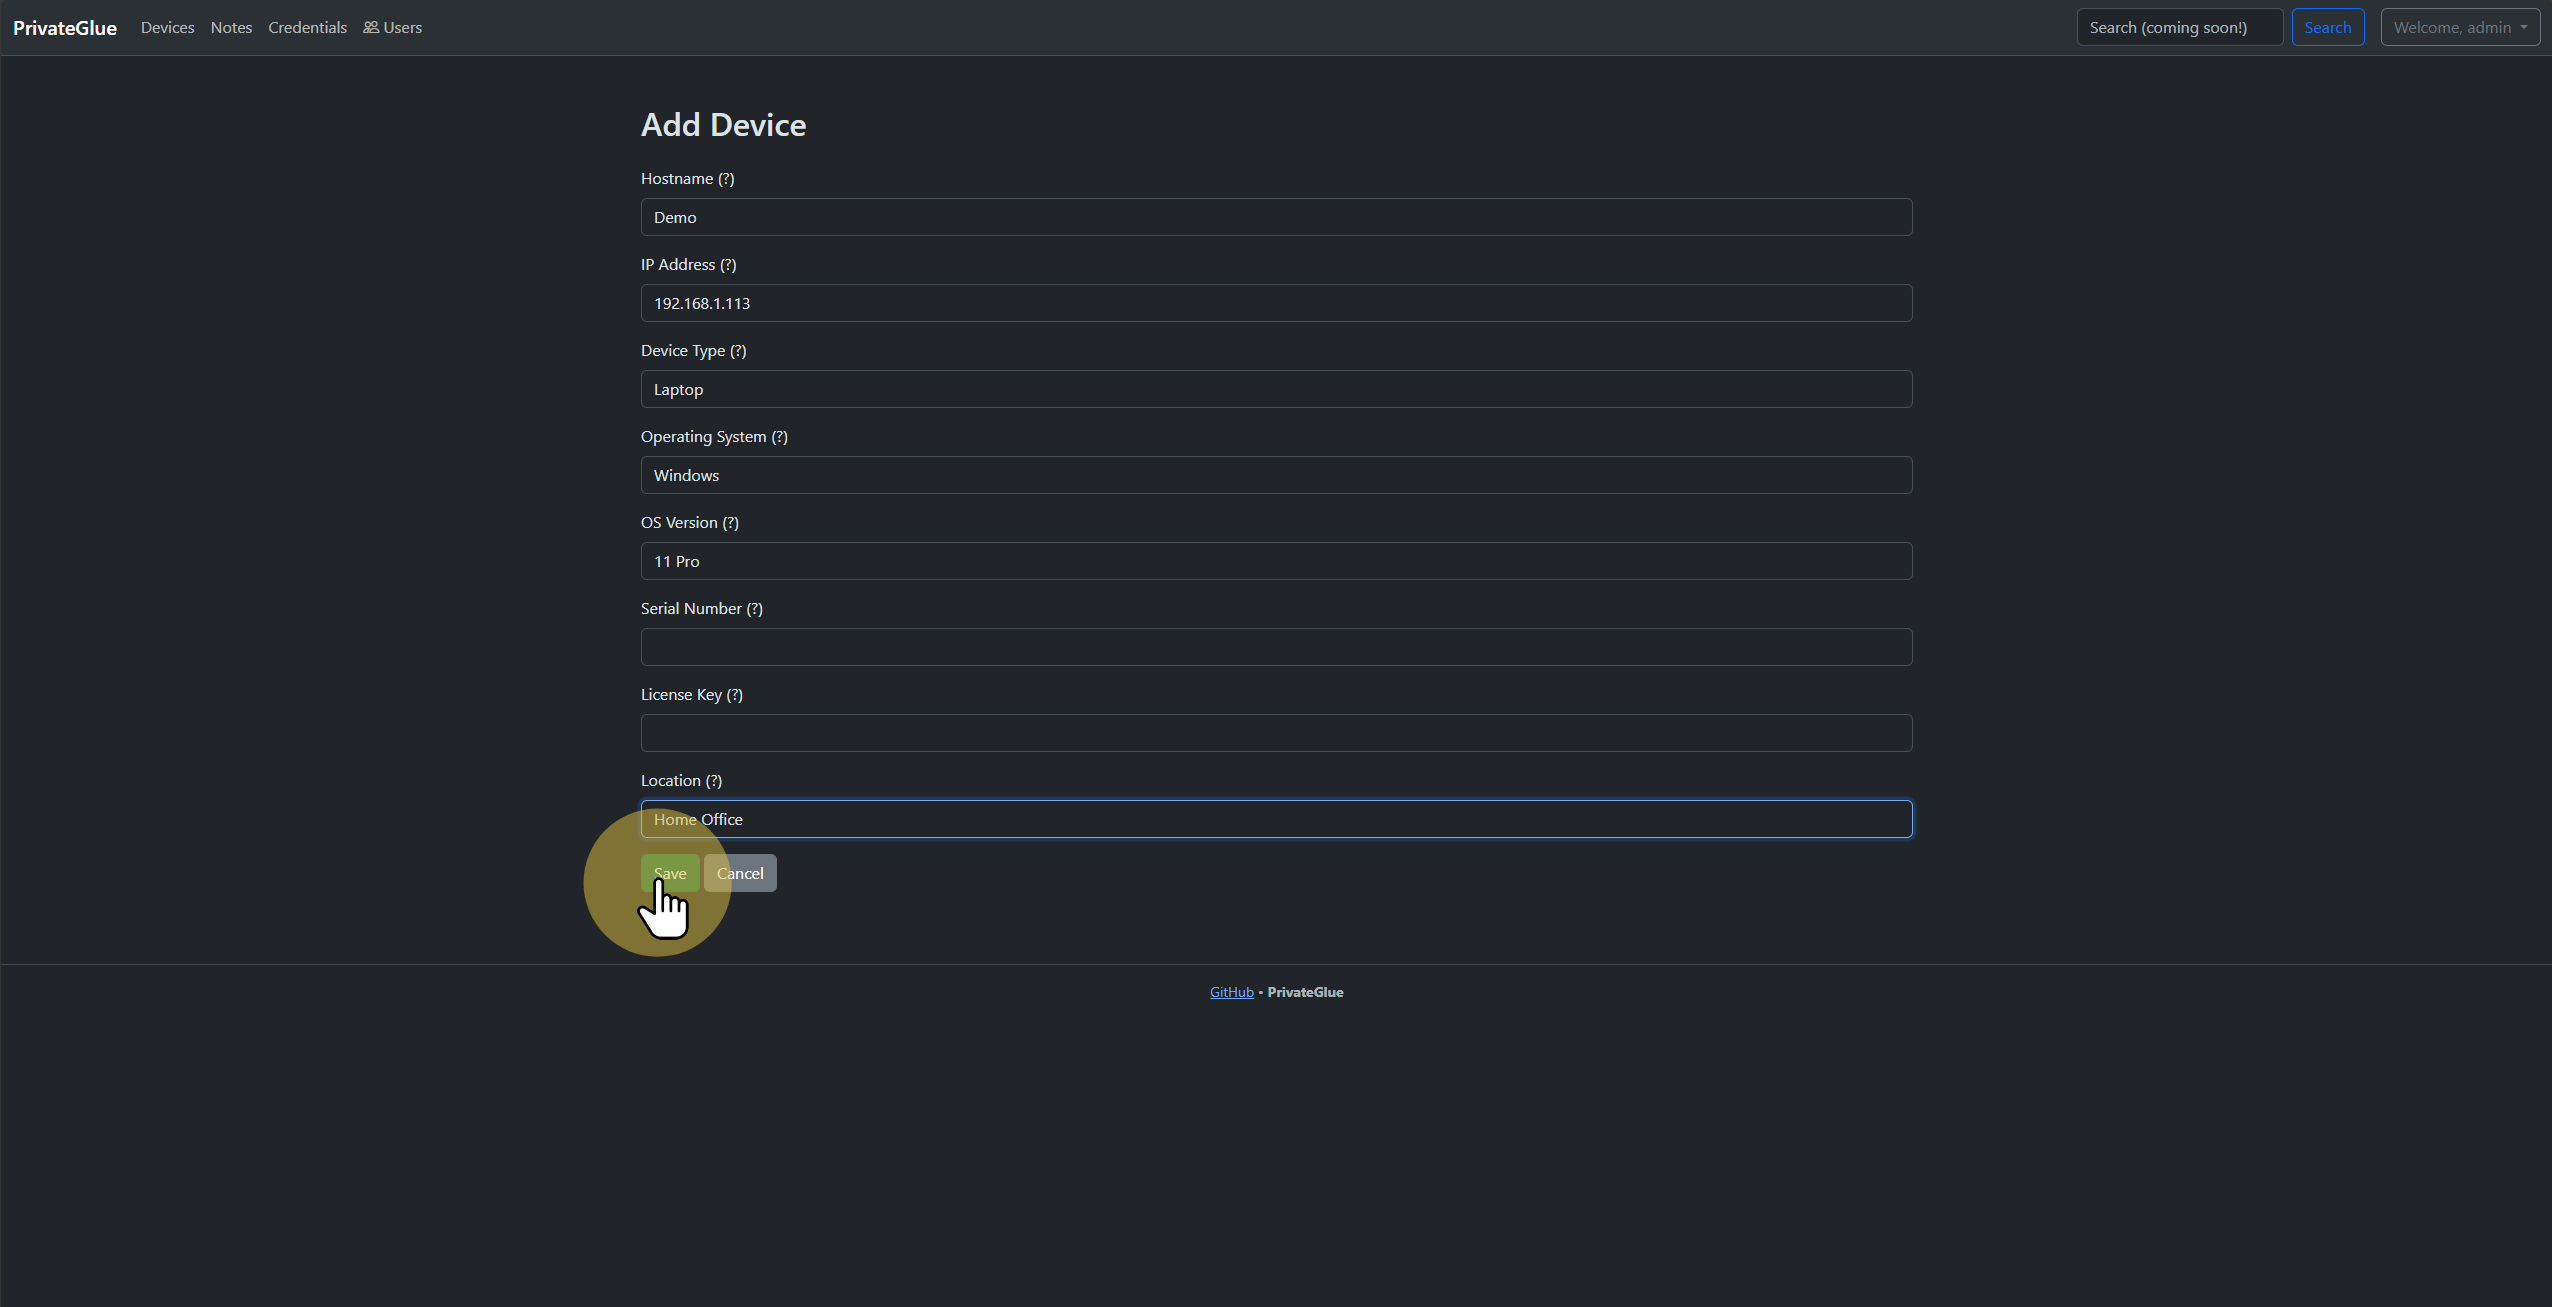
Provide device name, host address, credentials reference, etc.
3.2 Bulk Import
For multiple hosts, choose Import Devices, download the CSV template, populate it, and upload.
Upload your completed CSV.
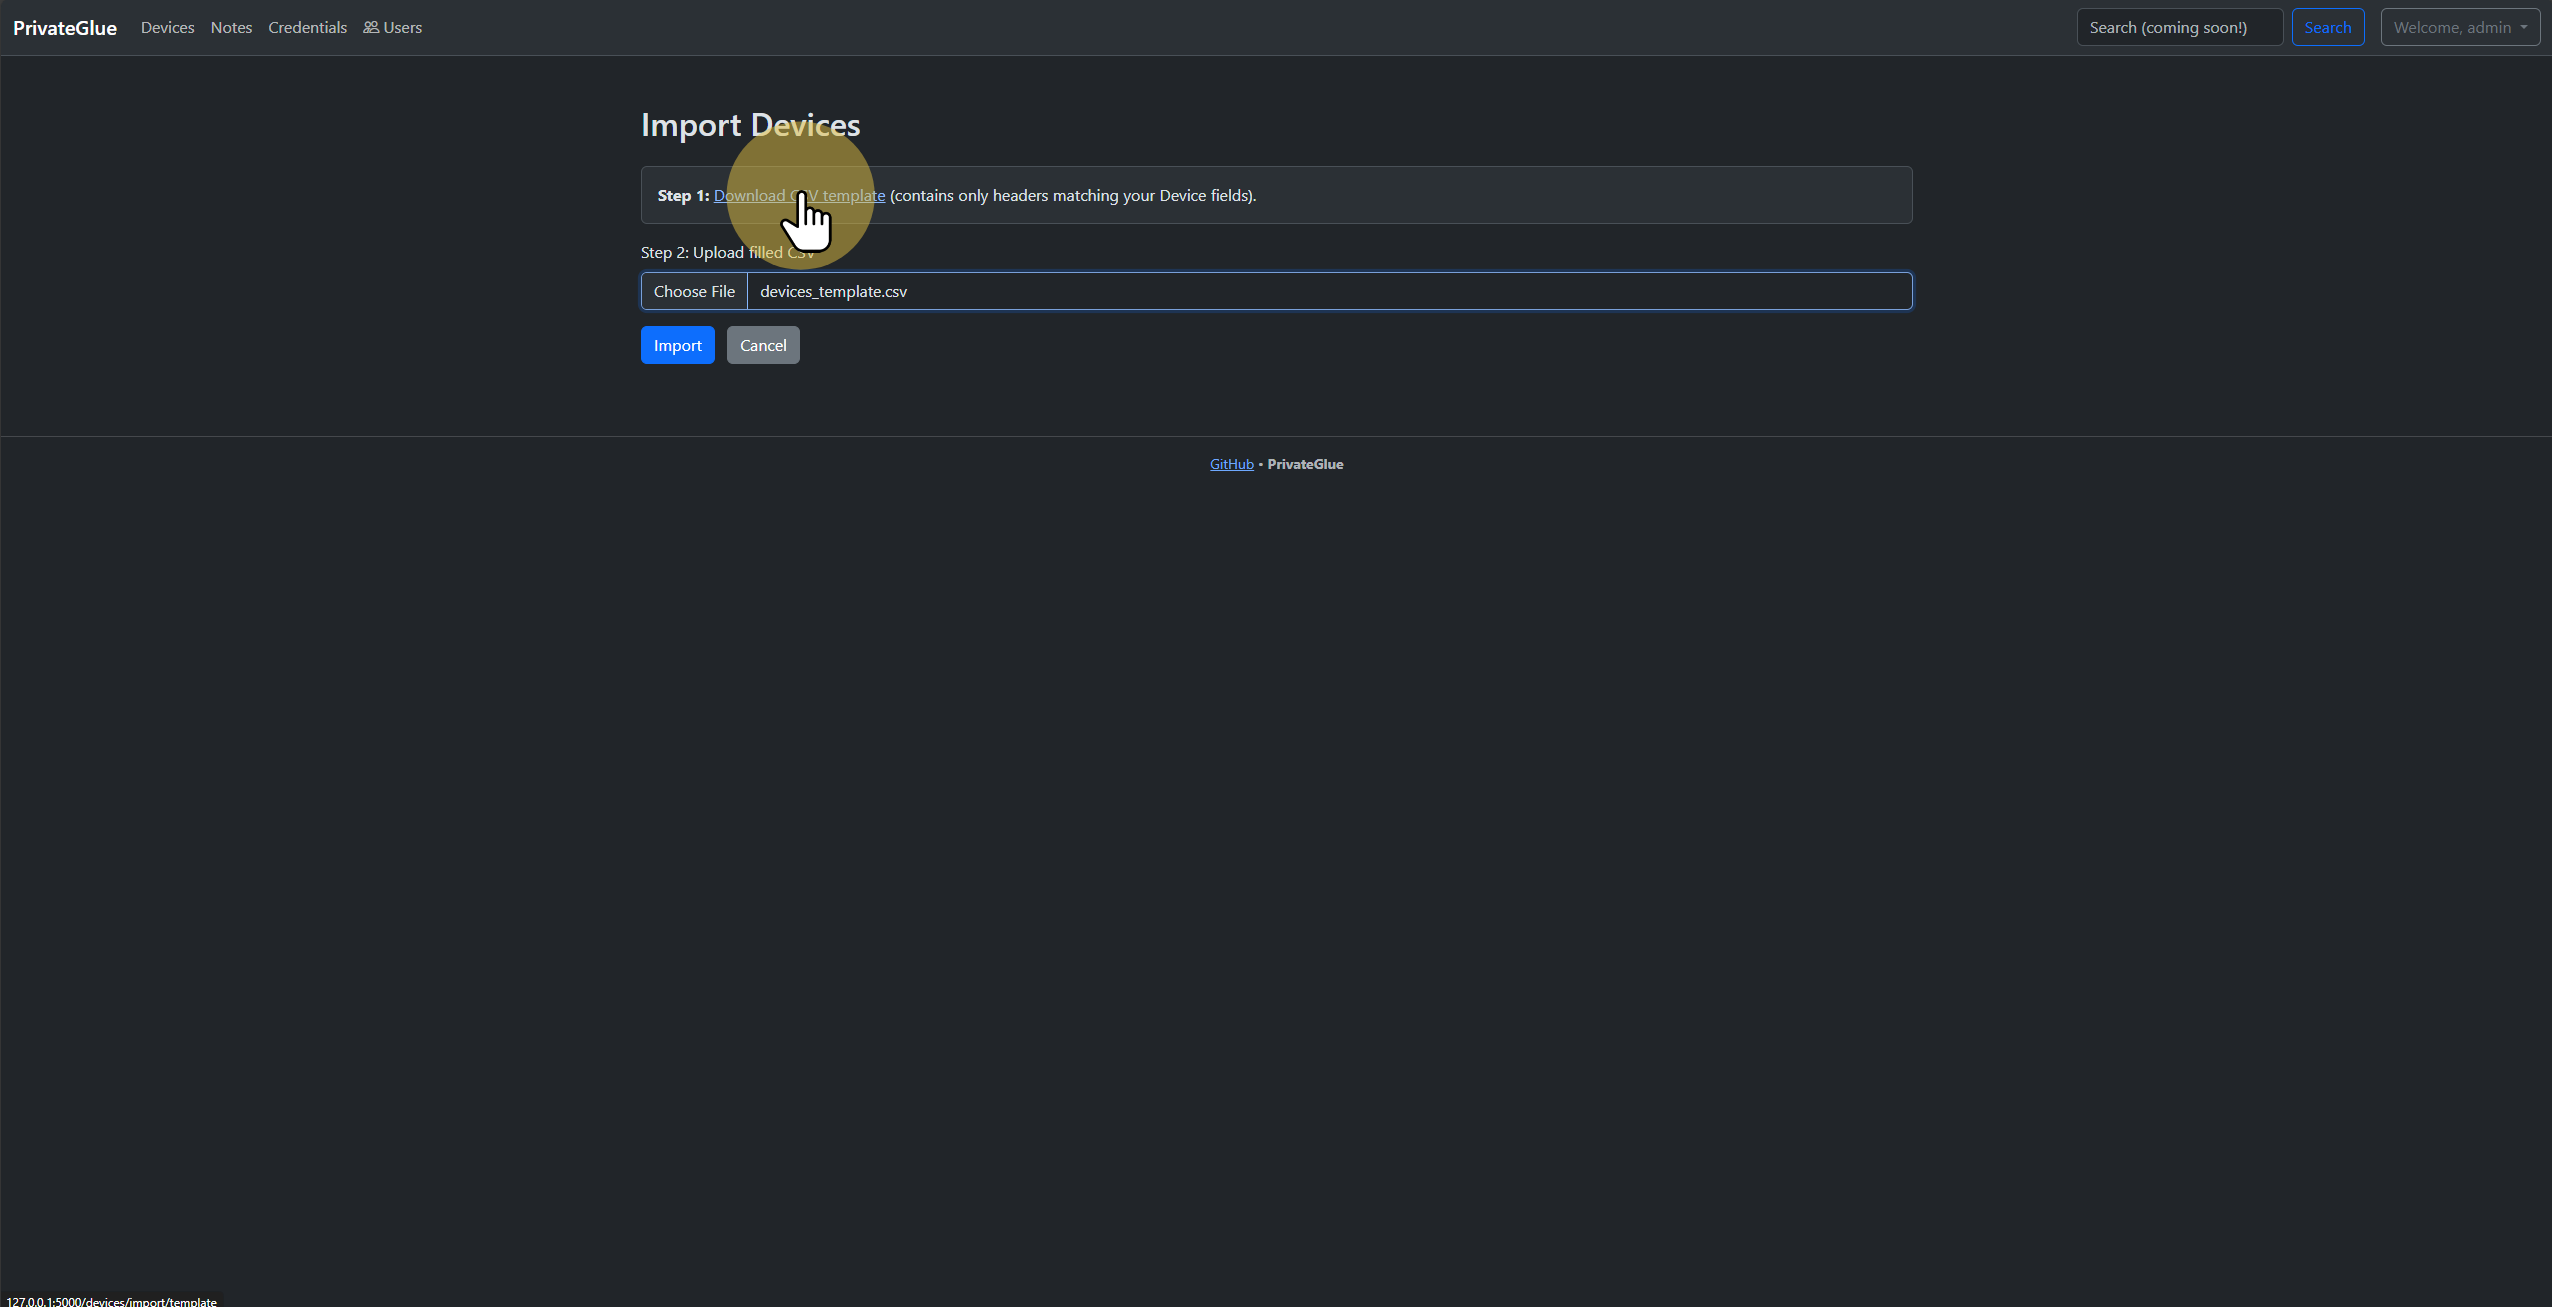
Template format for bulk imports.
4. Managing Credentials
Under Credentials, securely store and manage your Proxmox (or other) login details.
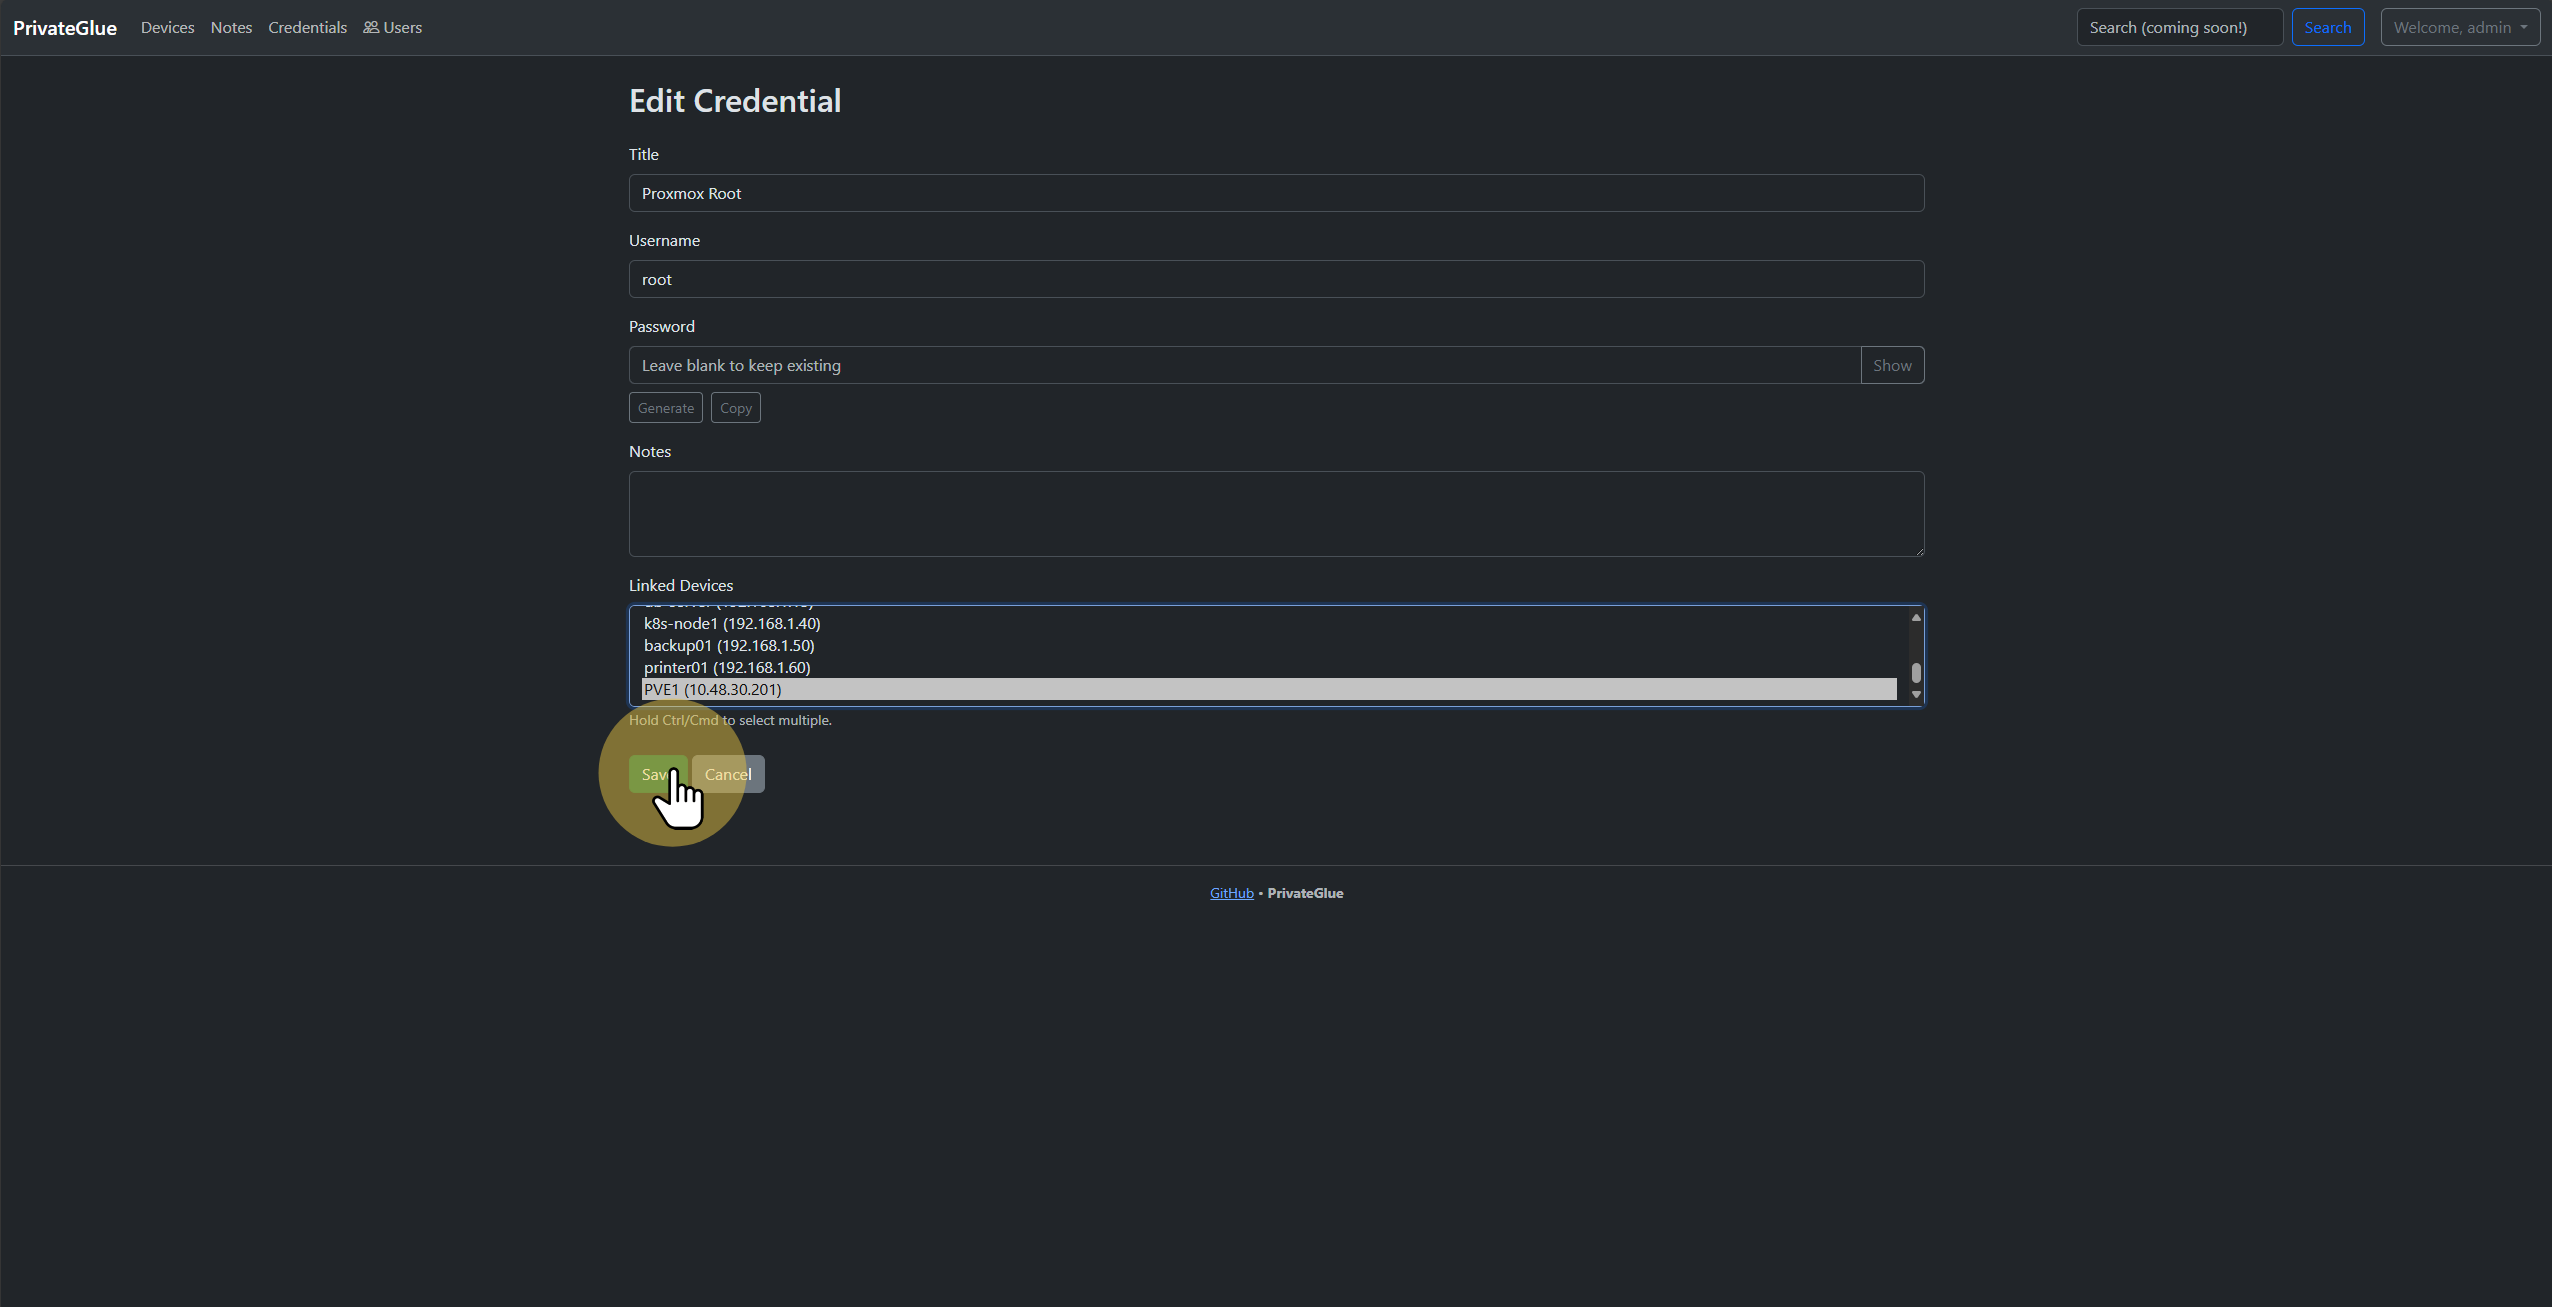
All saved credentials at a glance.
Click View next to any credential to see details or fetch Proxmox-specific information.
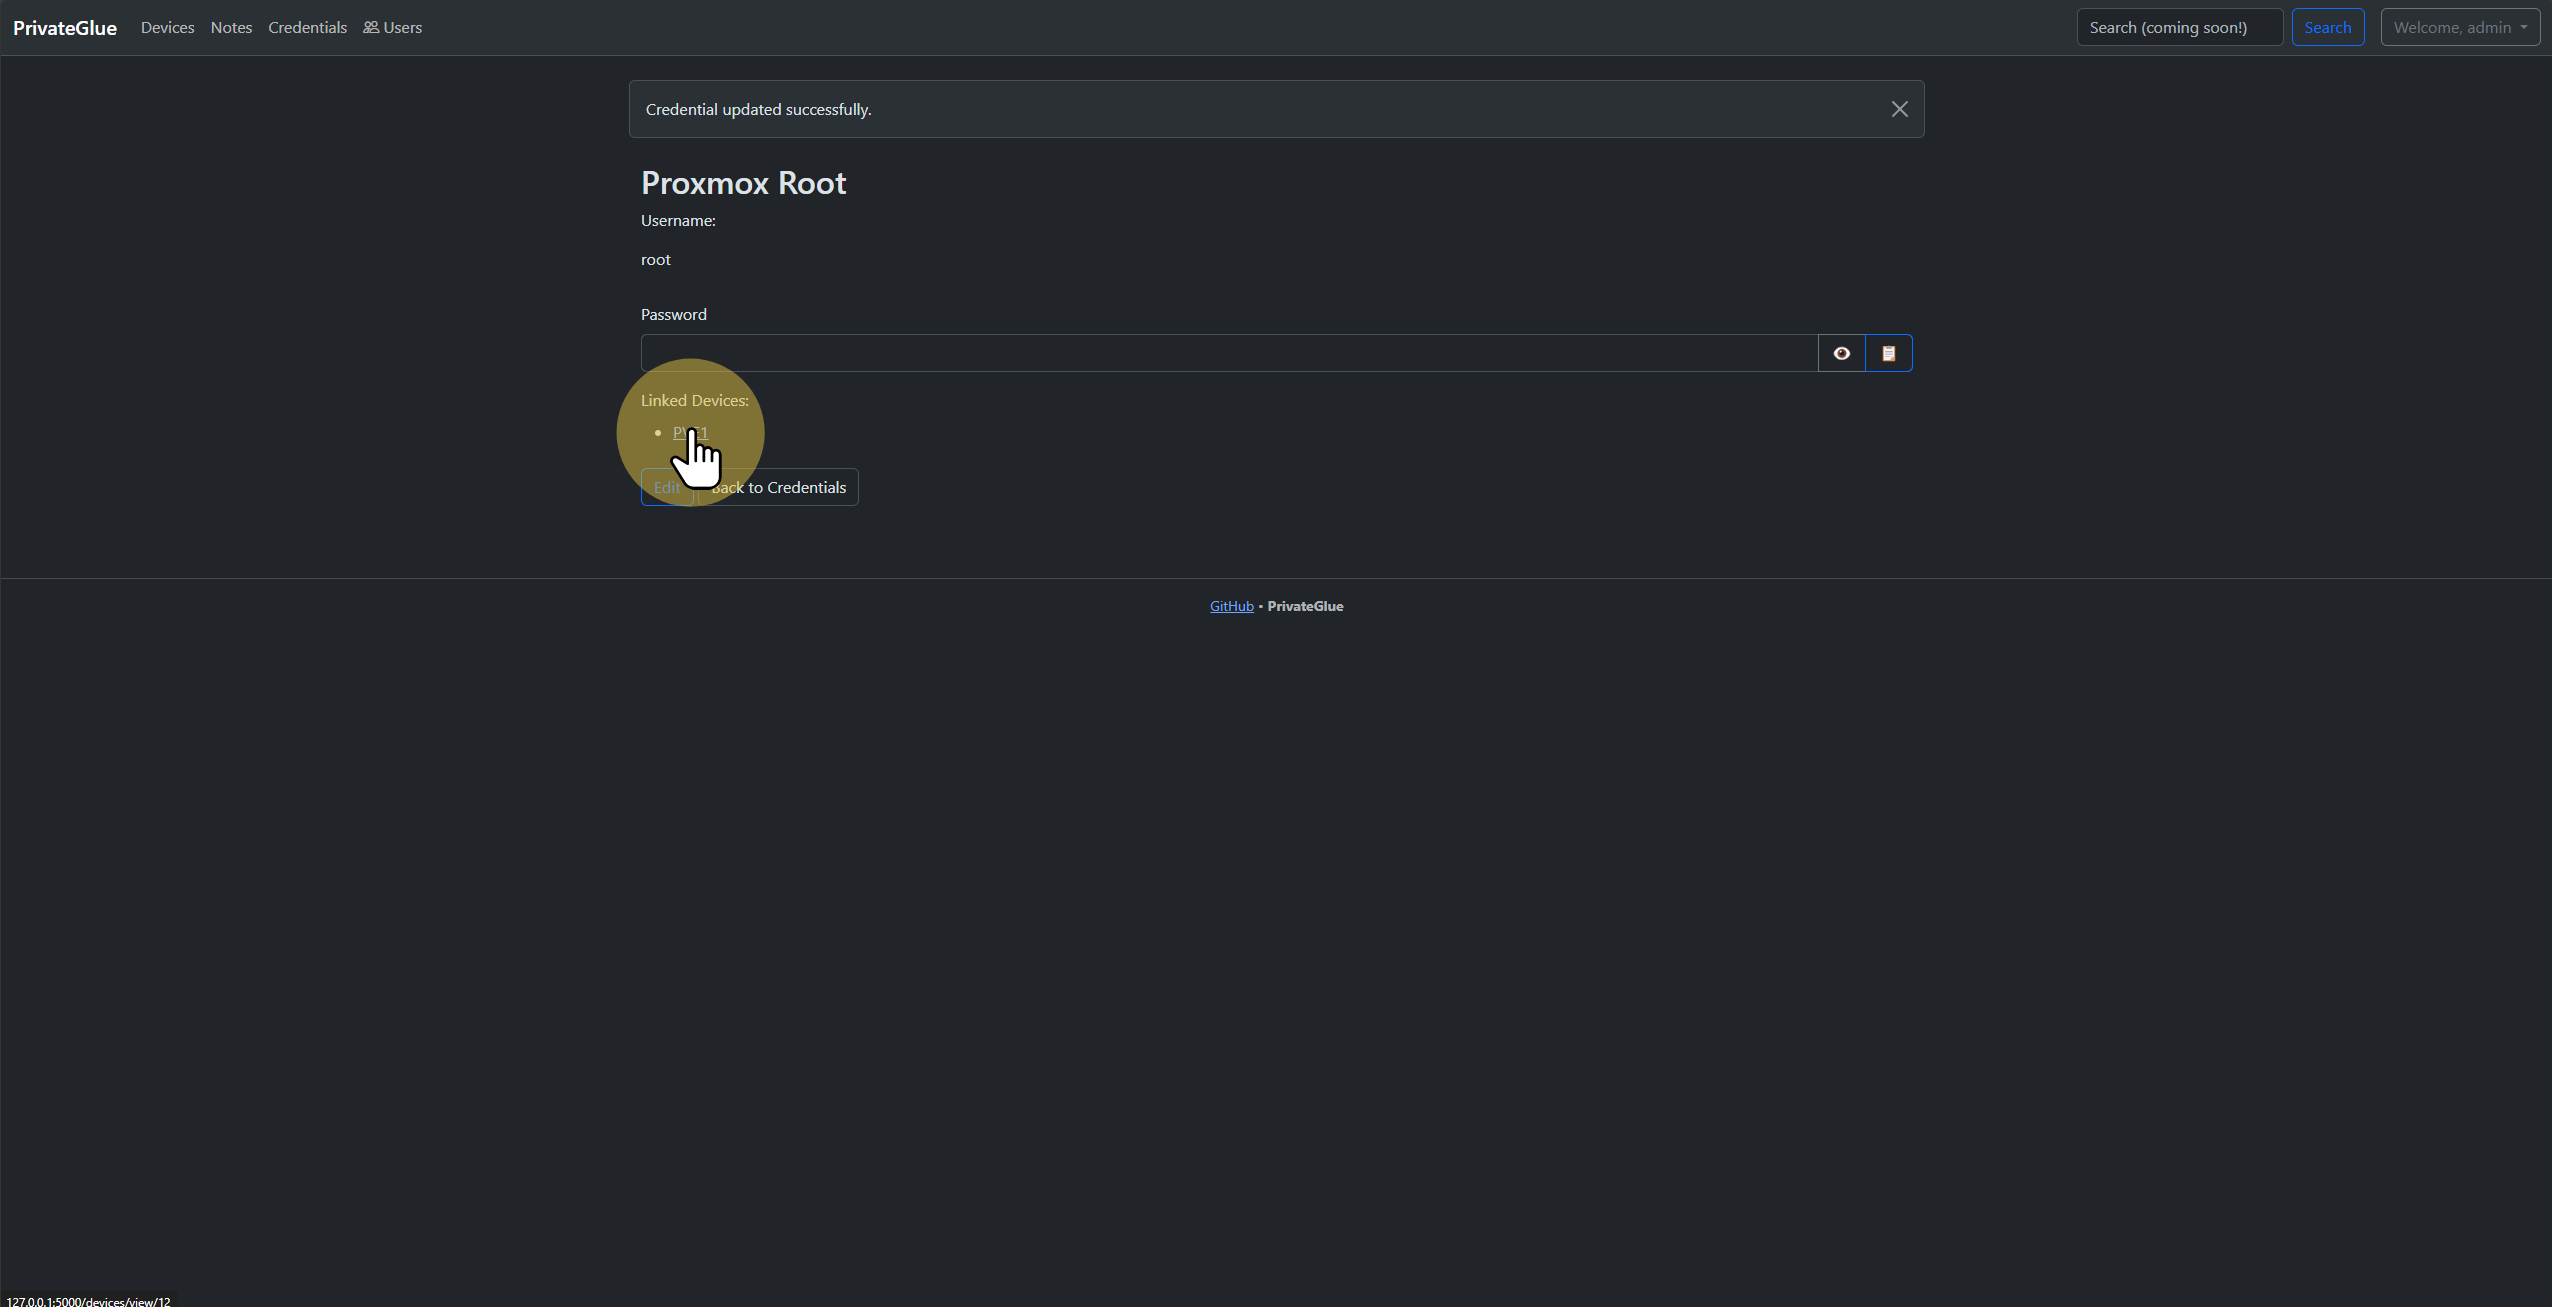
Inspect username, URL, fingerprint, etc.
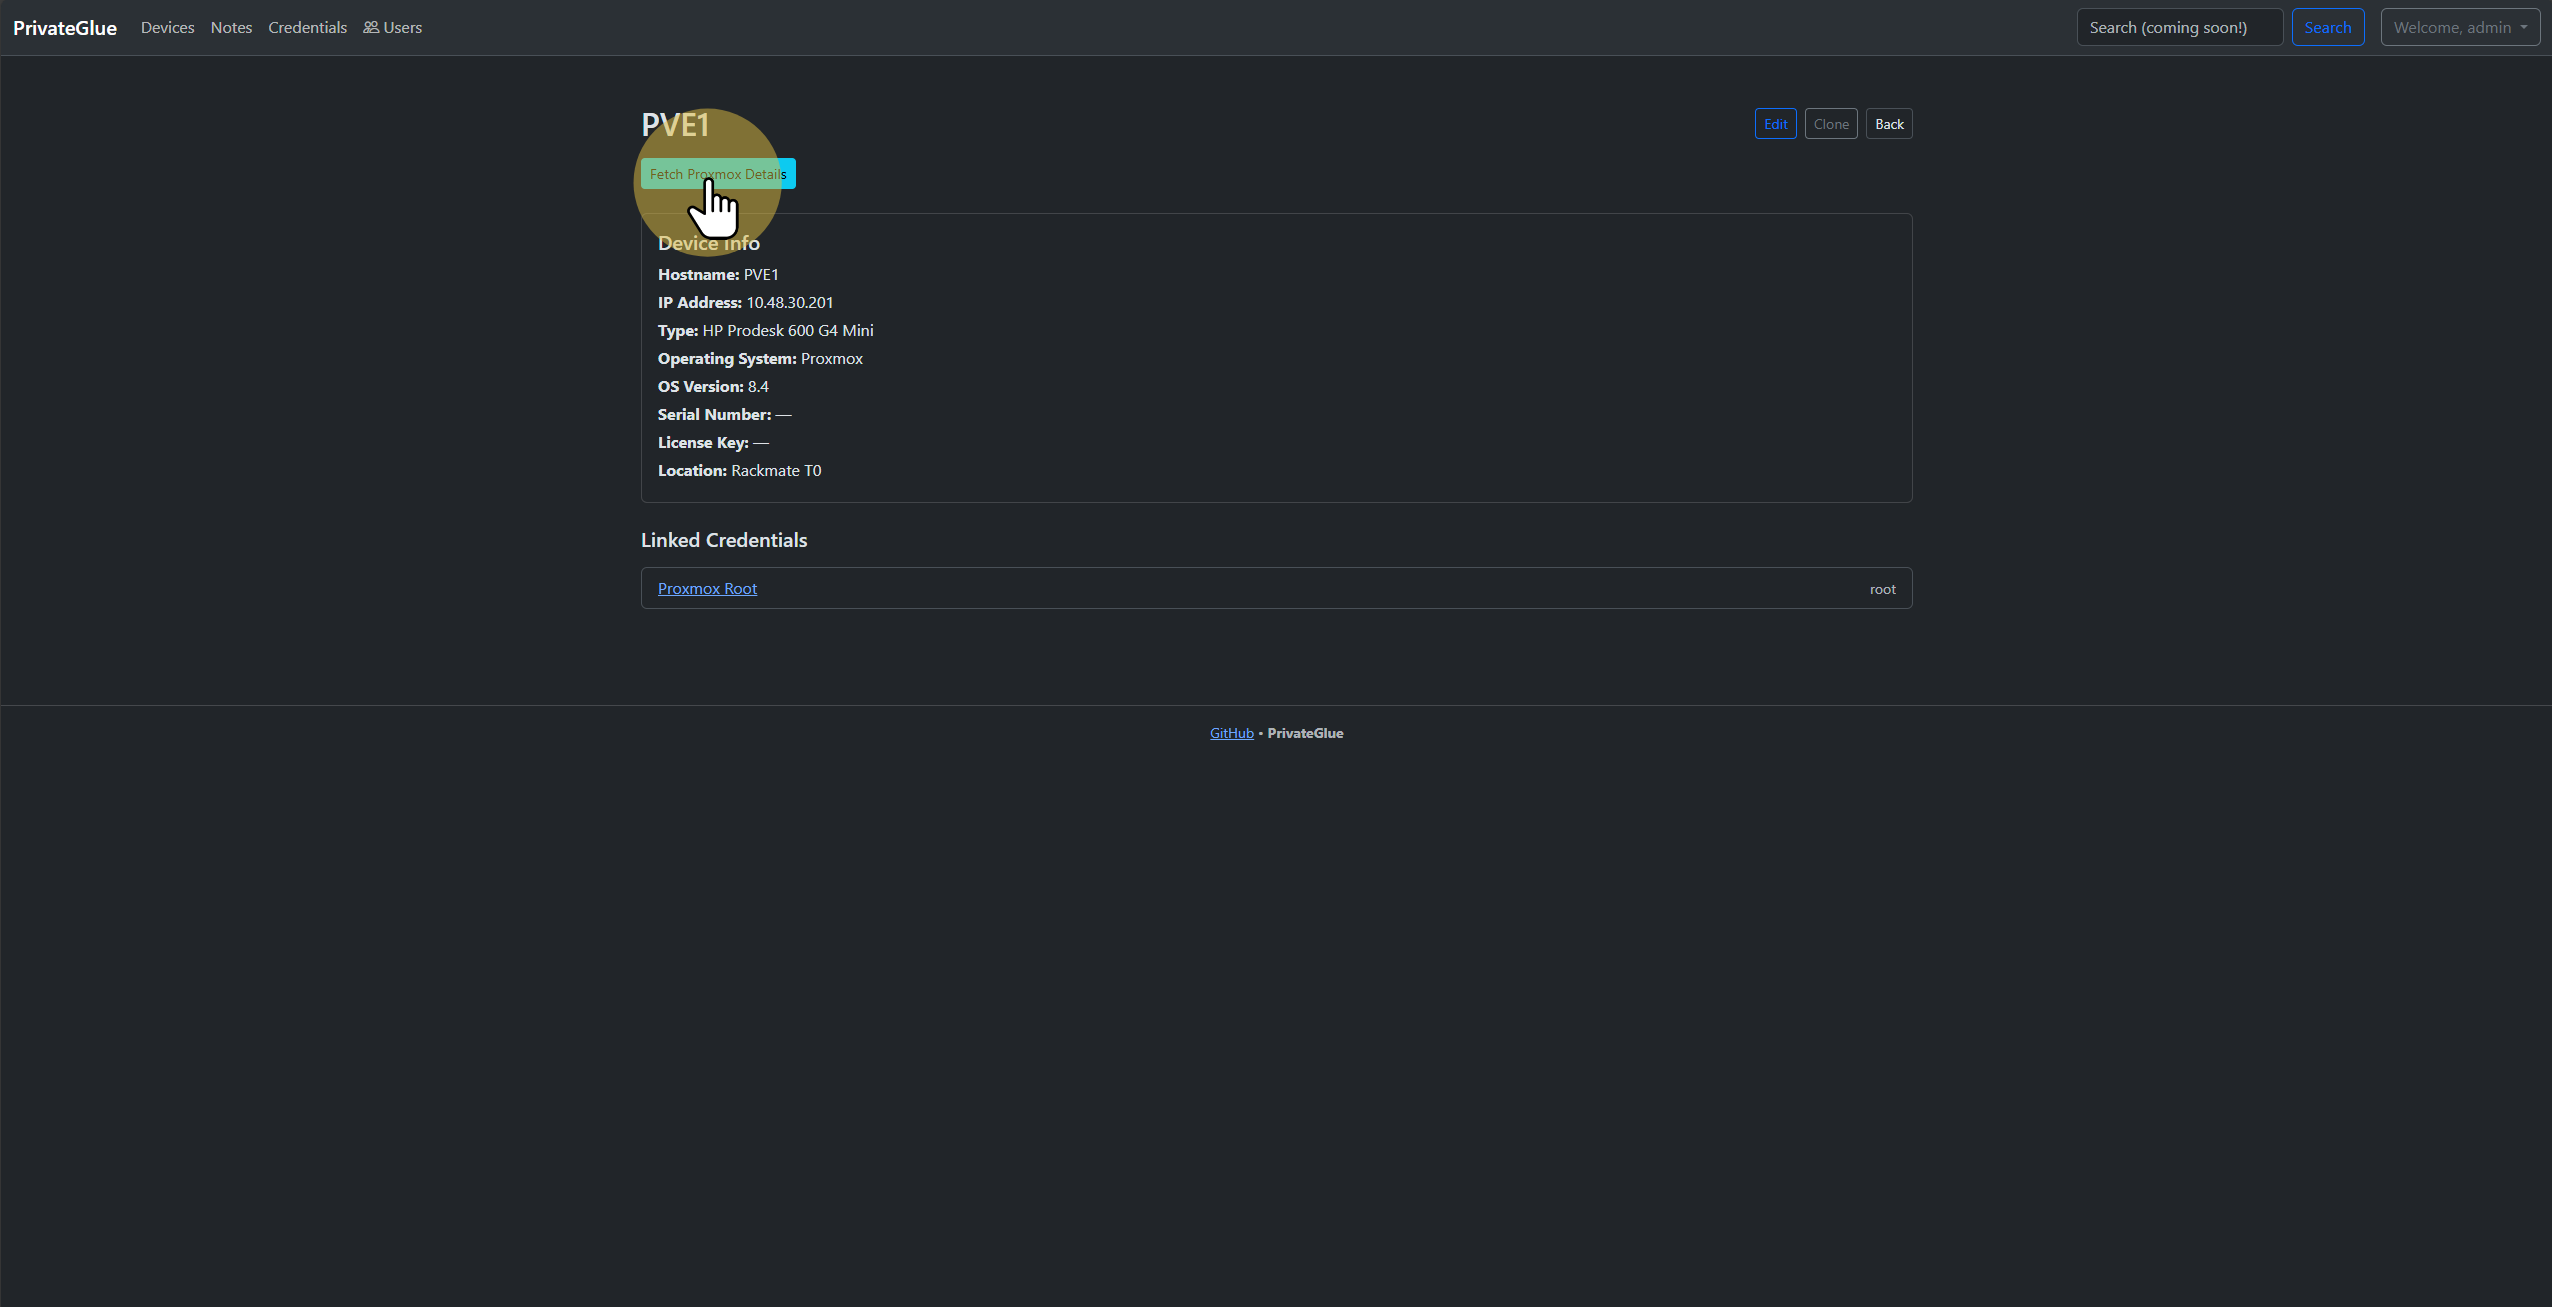
Retrieve license key, version, and other metadata.
5. Notes & Live Preview
On each device page, use the Notes tab to author Markdown-formatted text. Toggle Live Preview to see it rendered instantly.
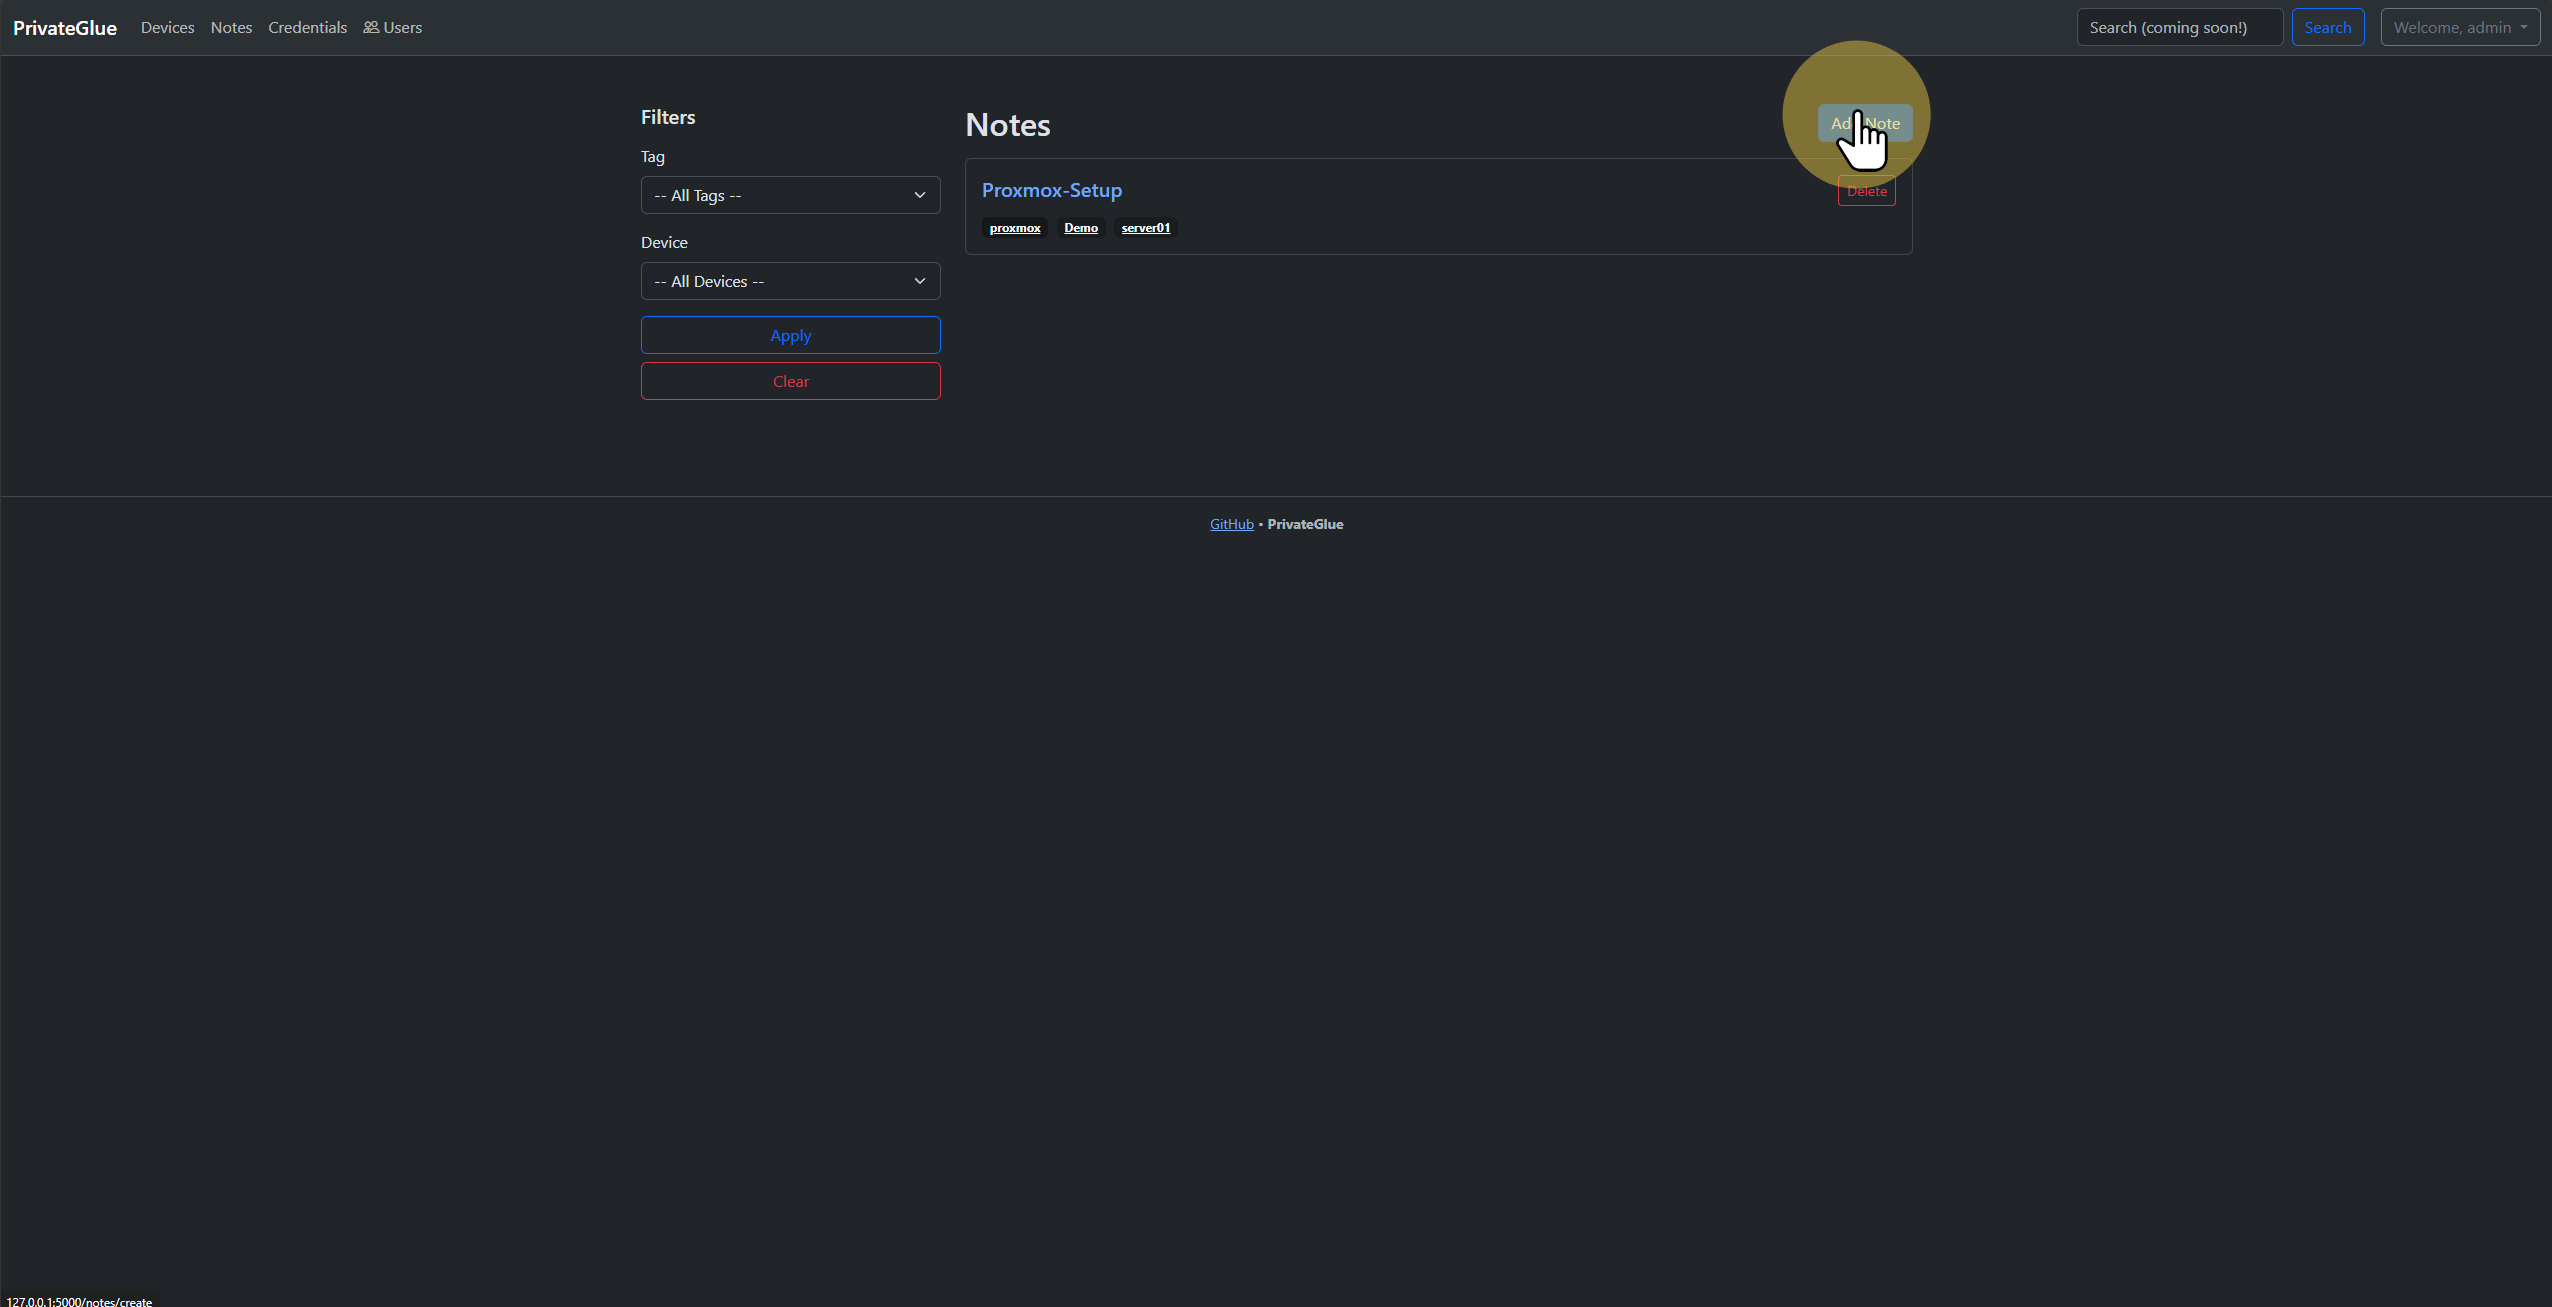
Compose notes in Markdown.

Render output updates in real time.
6. System Settings & Backup
From the user menu (top-right), access System Information and Your Profile to update personal settings or download a full configuration backup.
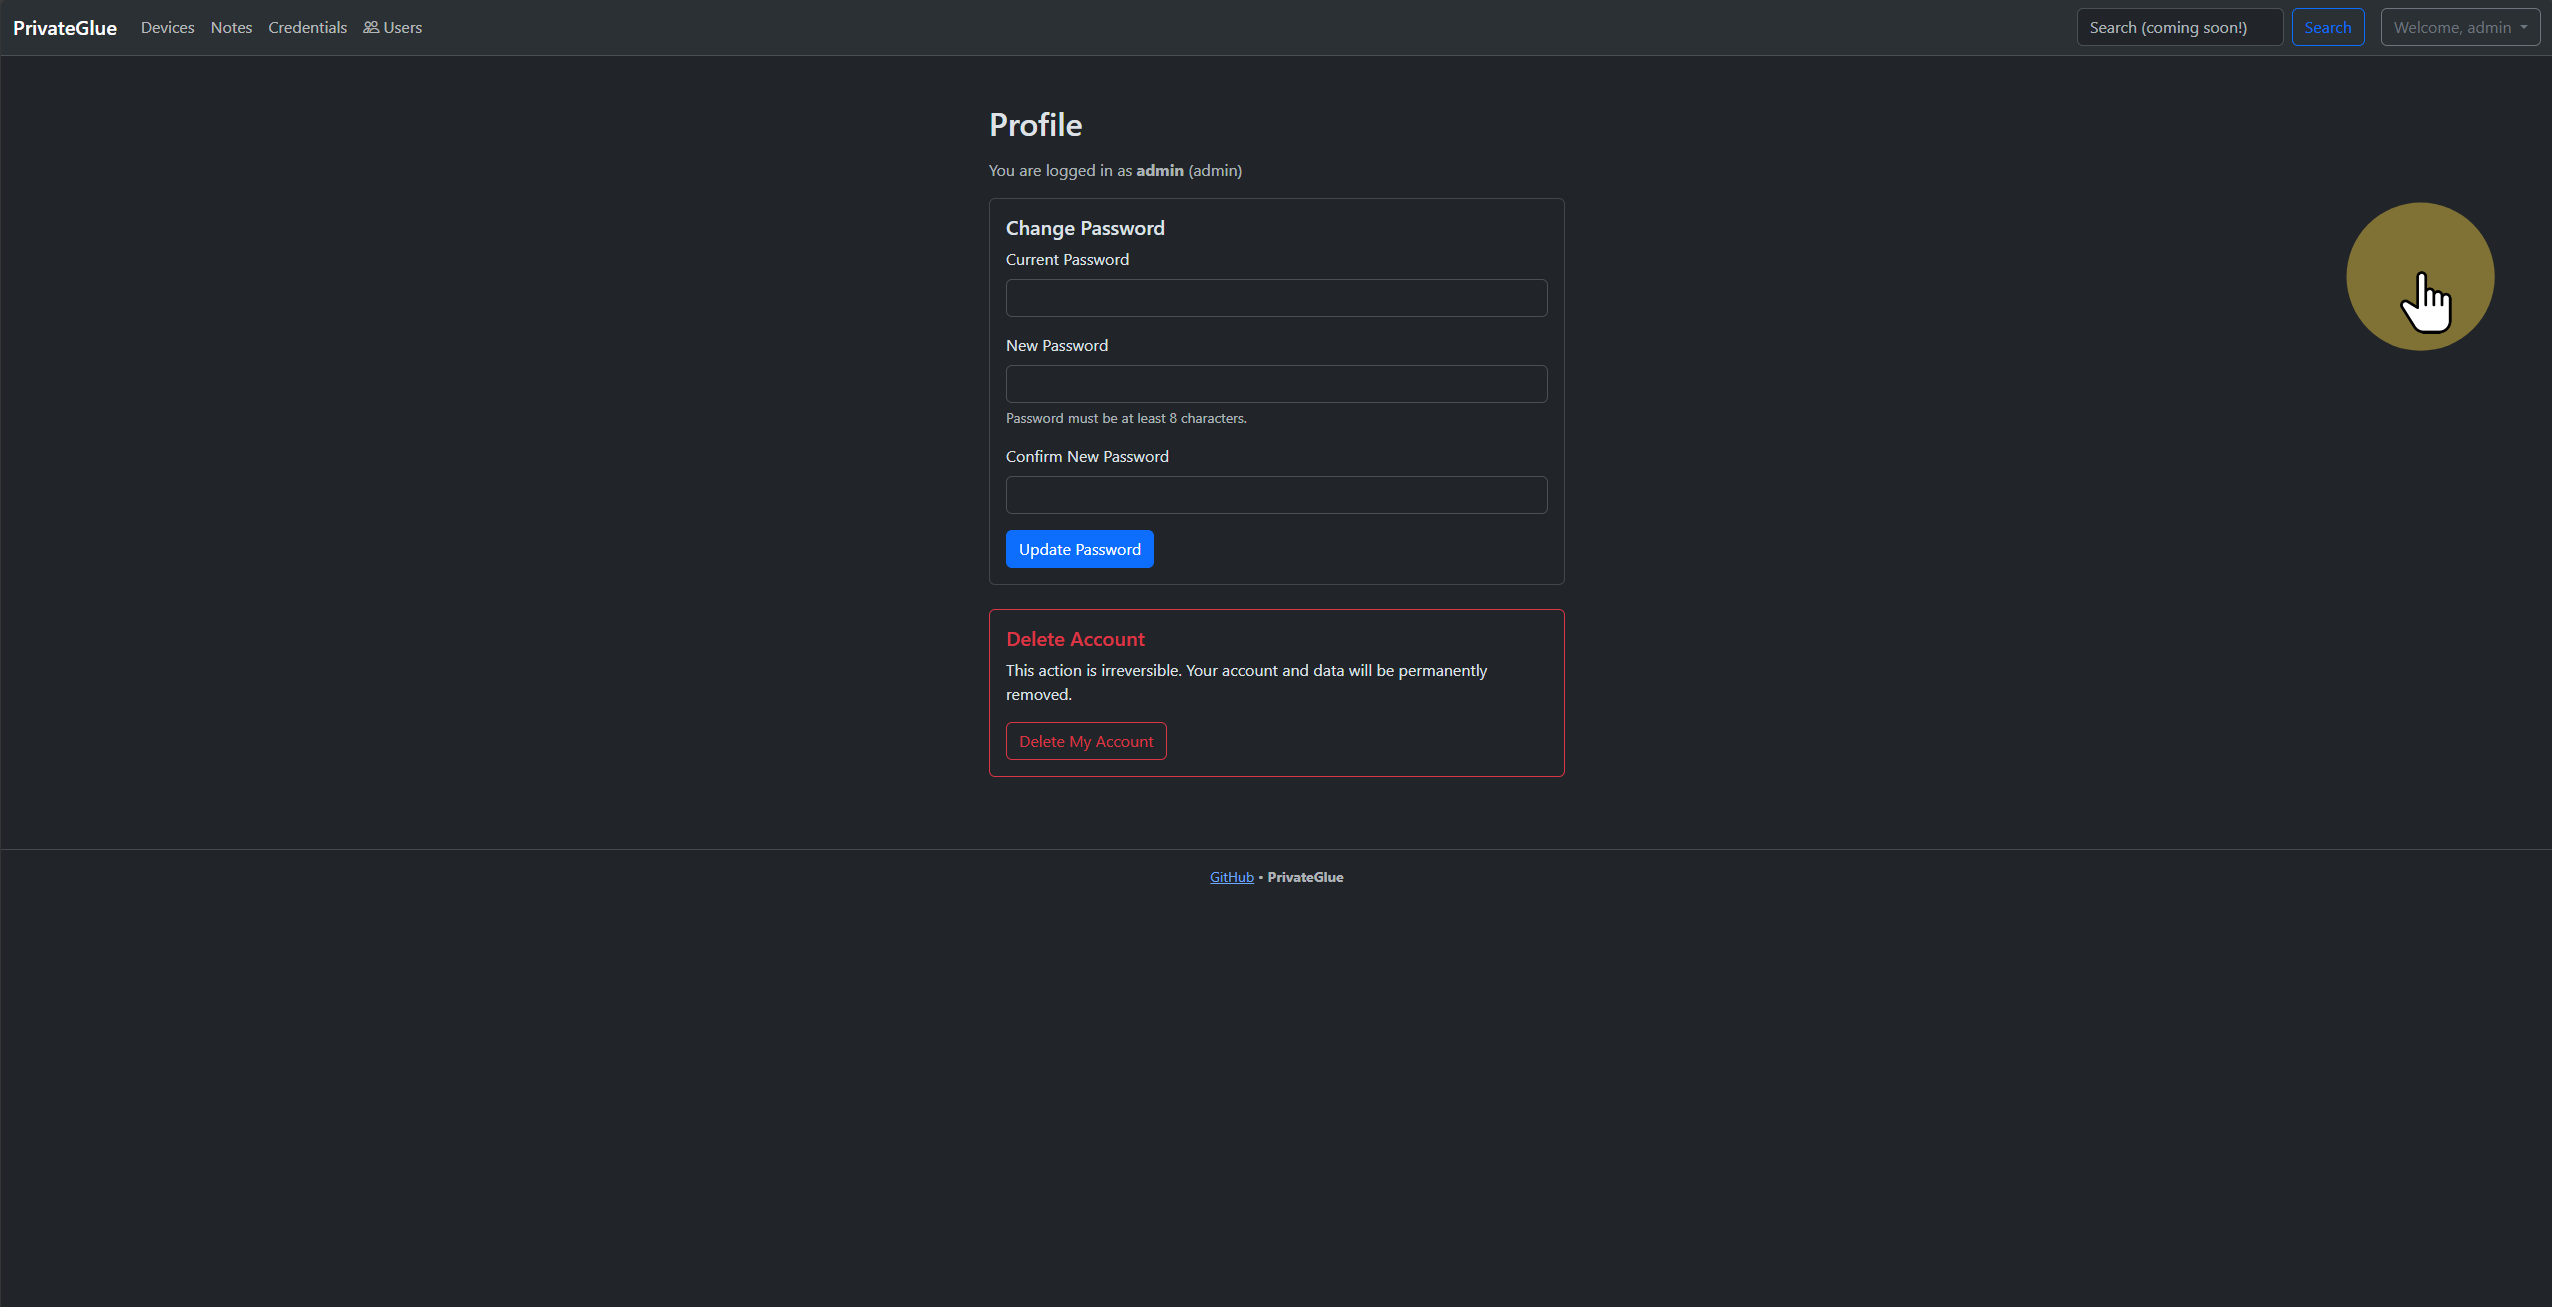
Access system info, profile settings, and backup options.

Save your entire configuration as a ZIP file.
Getting Started
Want to deploy PrivateGlue yourself? Here’s how:
- Clone the repository:
1
 git clone https://github.com/marcmylemans/privateglue-public.git
- Run it with Docker:
1 2
cd privateglue-public docker-compose up - Open your browser and go to:
1
 http://localhost:5000
- Create your admin account and start documenting your gear!
For a live demo, check out: PrivateGlue Demo
Final Thoughts
PrivateGlue is designed to make managing your home lab devices, notes, and credentials easy and secure.
If you haven’t yet, try deploying it today — and feel free to leave feedback, report issues, or contribute on GitHub!