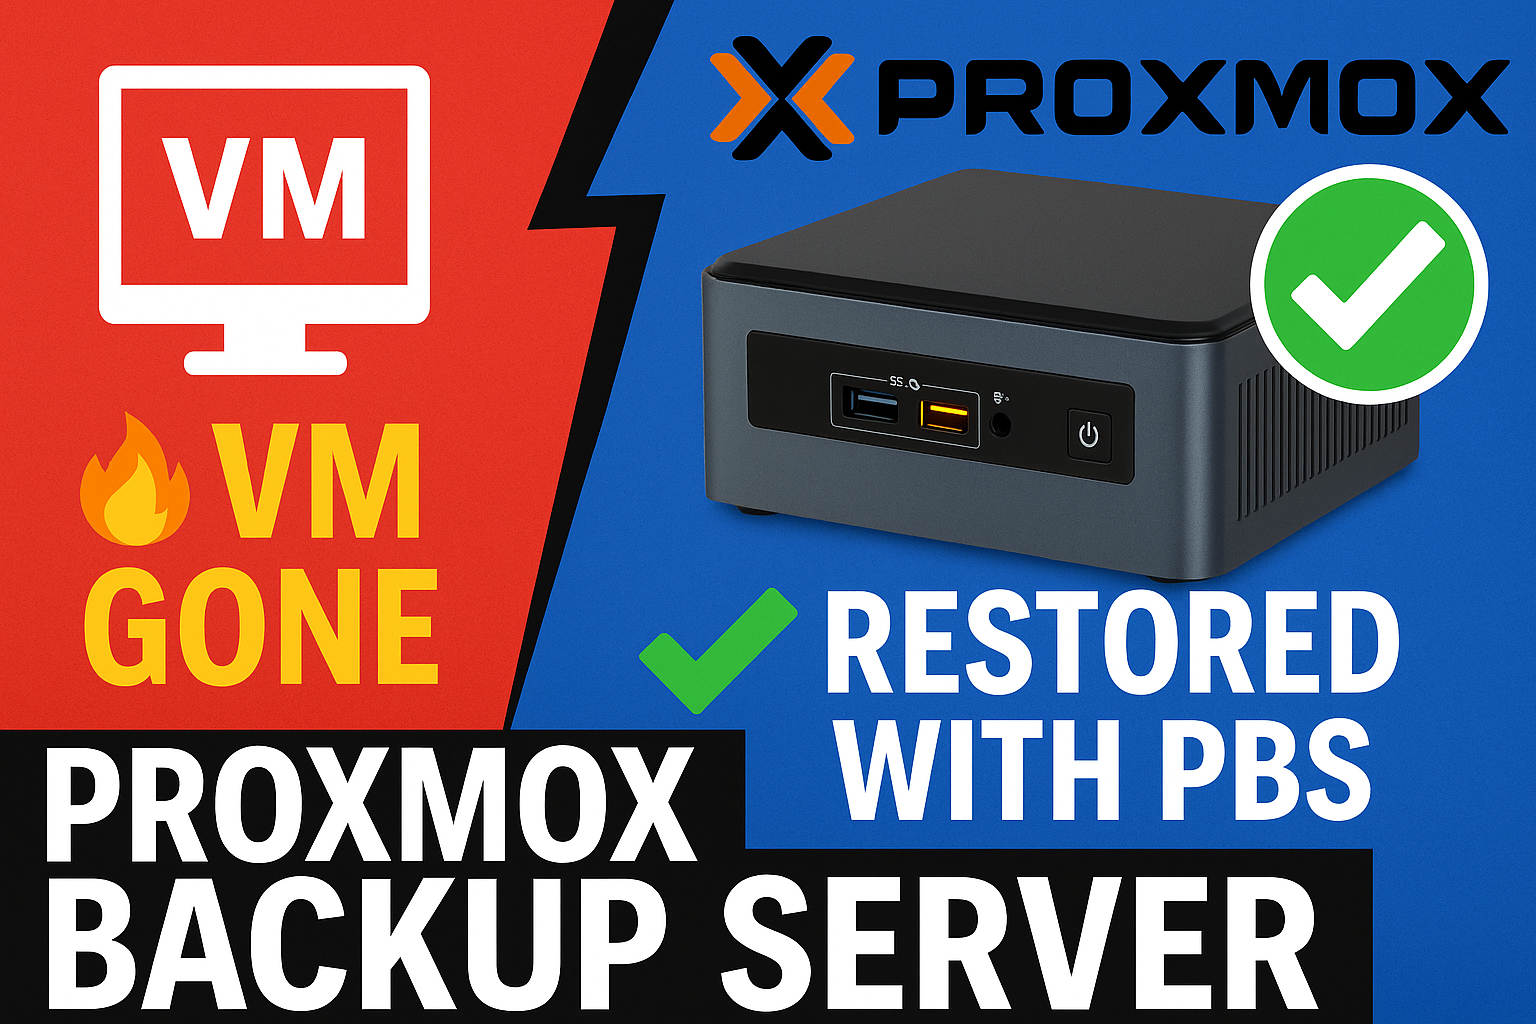
Proxmox Backup Server – Installation and Configuration
Introduction
If you’re running Proxmox VE, backups are not optional, they’re essential.
Proxmox Backup Server (PBS) is the official backup solution for Proxmox environments, offering deduplication and encryption with fast restores.
In this guide, we’ll walk through what PBS is, why it matters, and how to install and configure it step-by-step using Proxmox Backup Server and Proxmox VE.
What Is Proxmox Backup Server?
Proxmox Backup Server is a dedicated backup and restore platform designed to protect your virtual machines, containers, and configuration data from your Proxmox VE nodes.
It supports:
- Block-level deduplication
- Compression
- Encryption
- Incremental backups
- Fast restore operations
PBS integrates seamlessly with Proxmox VE, and even supports remote sync and offsite replication for advanced users.
System Requirements
For most home lab environments, PBS runs perfectly on a low-power mini-PC or an old server.
Recommended minimum specs:
- Modern AMD or Intel 64-bit based CPU, with at least 4 cores
- 4 GB RAM
- 32 GB system disk (SSD preferred)
- Separate disk for backup datastore (HDD or NAS)
- 1 Gbps network interface
Step 1: Download and Install PBS 4
- Visit Proxmox Downloads
- Download the latest Proxmox Backup Server 4.x ISO
- Flash it to a USB drive using Balena Etcher or Rufus
- Boot your mini-PC from the USB and start the installation wizard
- Configure hostname (e.g.,
pbs.lab.mylemans.online), timezone, and network settings
Once complete, you’ll see a message like:
1
https://pbs.lab.mylemans.online:8007
Open that address in your browser to access the PBS web interface.
Step 2: Create a Datastore
- Log in using
root@pam - Go to Configuration → Datastores → Add
- Name your datastore (e.g.,
main-store) - Select your disk path (e.g.,
/mnt/datastore)
If you use ZFS, ensure your pool is created and mounted first.
Optional: Initialize Extra Disks Using ZFS
If your server has multiple disks, you can initialize and group them directly from the PBS web interface:
- Go to Administration → Disks
- Open the ZFS tab
- Click Create: ZFS
- Give your ZFS pool a Name
- Select the disks you want to include
- Choose your RAID level (e.g., Mirror, RAIDZ1, RAIDZ2)
- Keep “Add as datastore” selected to automatically add it as a PBS datastore
- Click Create
This creates and mounts your new ZFS pool — ready for backups, no CLI required.
Step 3: Create a Dedicated Backup User
Instead of connecting your Proxmox VE host using root@pam, it’s best practice to create a dedicated PBS backup user.
- In the PBS web interface, go to Administration → Access Control → Users → Add
- Enter a username such as
pbs - Set a strong password
- Then go to Administration → Access Control → Permissions → Add
- Assign the
DatastoreBackuprole to this user for your datastore (e.g.,main-store)
This ensures your Proxmox nodes can authenticate safely without giving them full administrative rights.
Step 4: Connect Proxmox VE 9 to PBS
- On your Proxmox VE node, navigate to:
Datacenter → Storage → Add → Proxmox Backup Server - Enter:
- Server address
- Datastore name
- User credentials (
pbs@pbs) instead of root
- Click Fingerprint → Verify, then Add
Your PBS will now appear as available storage in Proxmox VE.
Step 5: Schedule Backups
- Go to Datacenter → Backup → Add
- Select your VMs and PBS storage
- Choose Snapshot Mode and a daily or weekly schedule
- Save and test your backup
You’ve now got a fully functioning Proxmox Backup Server protecting your homelab.
With deduplication, compression, and easy integration into Proxmox VE, it’s one of the best open-source backup solutions available.
For the video walkthrough, check out my YouTube channel:
Mylemans Online on YouTube
