Setting Up Your First Virtual Machine in Hyper-V
Welcome back to our Hyper-V series! In Chapter 2, we’re diving into one of the most exciting parts of Hyper-V: Setting up your first virtual machine. By the end of this post and video, you’ll have your very first virtual machine (VM) up and running in Hyper-V, complete with an operating system installed and configured.
If you’re following along, make sure Hyper-V is enabled on your system. If you missed the first chapter, check it out here: Introduction to Hyper-V.
Planning Your Virtual Machine
Before you create a virtual machine, it’s important to plan a few key things:
- Purpose of the VM: Are you using this VM for development, testing, or to run specific applications?
- Operating System: Decide which OS you’ll install—Windows, Linux, or another platform.
- Resource Allocation: How much CPU, RAM, and disk space will you need for this VM? (You can always adjust these settings later.)
Step-by-Step Guide: Creating a Virtual Machine in Hyper-V
Let’s walk through how to create a VM using Hyper-V Manager.
1. Open Hyper-V Manager:
- Open Hyper-V Manager from the Start menu or Server Manager.
2. Start the New Virtual Machine Wizard:
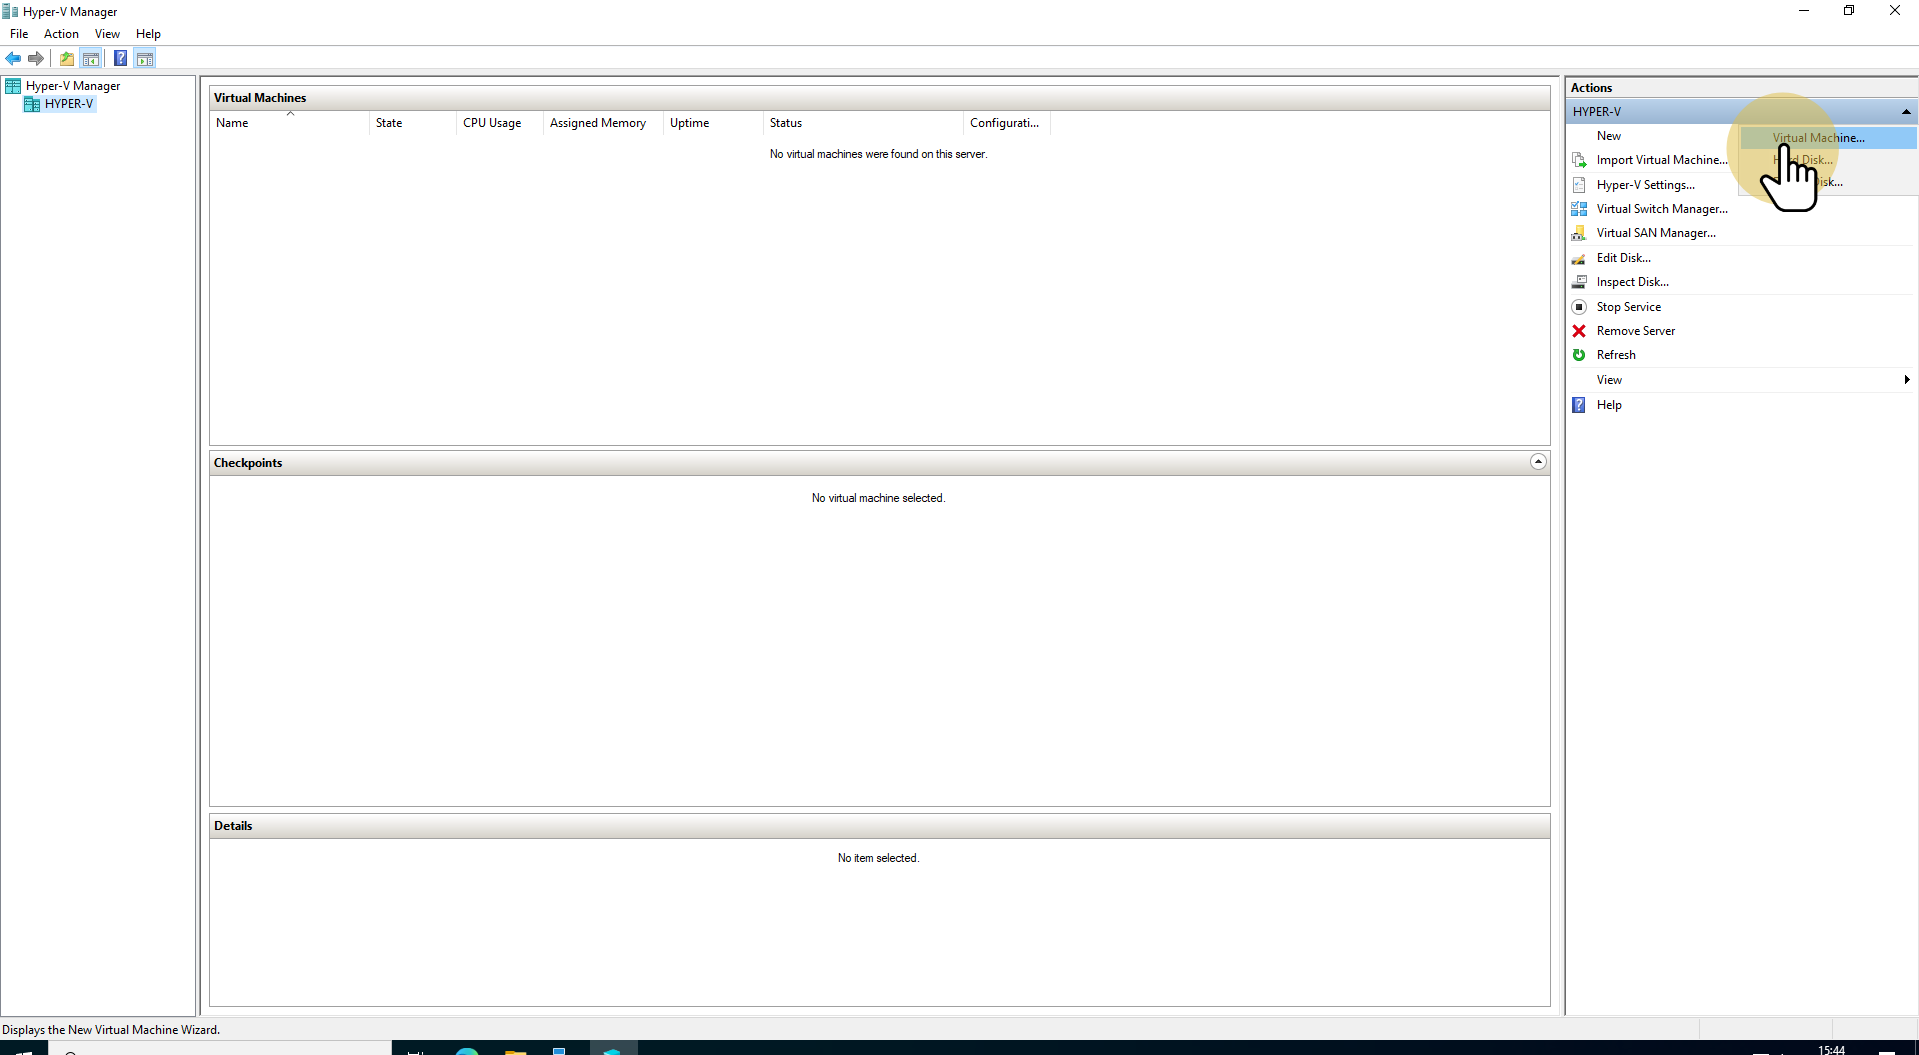
- In Hyper-V Manager, click New in the right-hand pane, then choose Virtual Machine.
3. Specify Name and Location:
- Enter a name for your VM.
- Choose a location for where the VM files will be stored (or stick with the default).
4. Choose Generation:
- Generation 1 is compatible with older systems.
- Generation 2 supports newer features like UEFI and Secure Boot.
5. Assign Memory:
- Allocate startup memory (e.g., 2048 MB). You can also enable Dynamic Memory to allow the VM to adjust its memory usage automatically.
6. Configure Networking:
- Connect the VM to a virtual switch. If you don’t have one yet, you can create one later in Hyper-V Manager.
7. Create Virtual Hard Disk:
- Create a new virtual hard disk (VHDX) or use an existing one. Specify the size (e.g., 50 GB).
8. Install an Operating System:
- Choose Install an operating system from a bootable image file.
- Browse and select the ISO file for your OS.
9. Complete the Wizard:
- Review your settings and click Finish.
Installing the Operating System
Now that your virtual machine is created, it’s time to install the operating system:
1. Start the VM:
- Right-click the VM in Hyper-V Manager and select Connect.
- In the Virtual Machine Connection window, click Start.
2. Install the OS:
- Follow the installation steps for your chosen OS, just as you would on a physical machine.
Configuring the Virtual Machine
After your OS is installed, it’s time to fine-tune your VM:
1. Install Integration Services:
- Integration Services improve performance and functionality in VMs. For Windows VMs, they are included automatically. For Linux VMs, you may need to install them manually.
2. Adjust VM Settings:
- You can always tweak settings like CPU, memory, and network configurations. Just right-click the VM in Hyper-V Manager and select Settings.
3. Snapshots and Checkpoints:
- Take Snapshots (or checkpoints) to capture the state of a VM at a specific point in time. This can be a lifesaver when testing new configurations or updates.
Managing Virtual Machines
Here are some basic tasks you’ll need to know for managing your VM:
- Start and Stop VMs: You can start, shut down, or pause VMs from Hyper-V Manager by right-clicking the VM.
- Monitoring VM Performance: Use Task Manager or Resource Monitor inside the VM to monitor resource usage. You can also check performance in Hyper-V Manager.
Want the Full Written Guide? Get Early Access on Ko-fi
If you’re enjoying this series and want to get more detailed instructions for working with Hyper-V, consider supporting our work by getting early access to the full written guide on Ko-fi! It covers everything from basic setups to advanced configurations, with clear step-by-step instructions.
Get your copy today: Download the Full Guide on Ko-fi
Conclusion
Congratulations! You’ve just set up your very first virtual machine in Hyper-V. With this basic knowledge, you can now create multiple VMs for testing, development, or production purposes.
If you found this post and video helpful, please don’t forget to like, share, and subscribe to our channel for more tutorials. Stay tuned for Chapter 3, where we’ll dive into networking in Hyper-V!
Next Up: Chapter 3: Networking in Hyper-V

